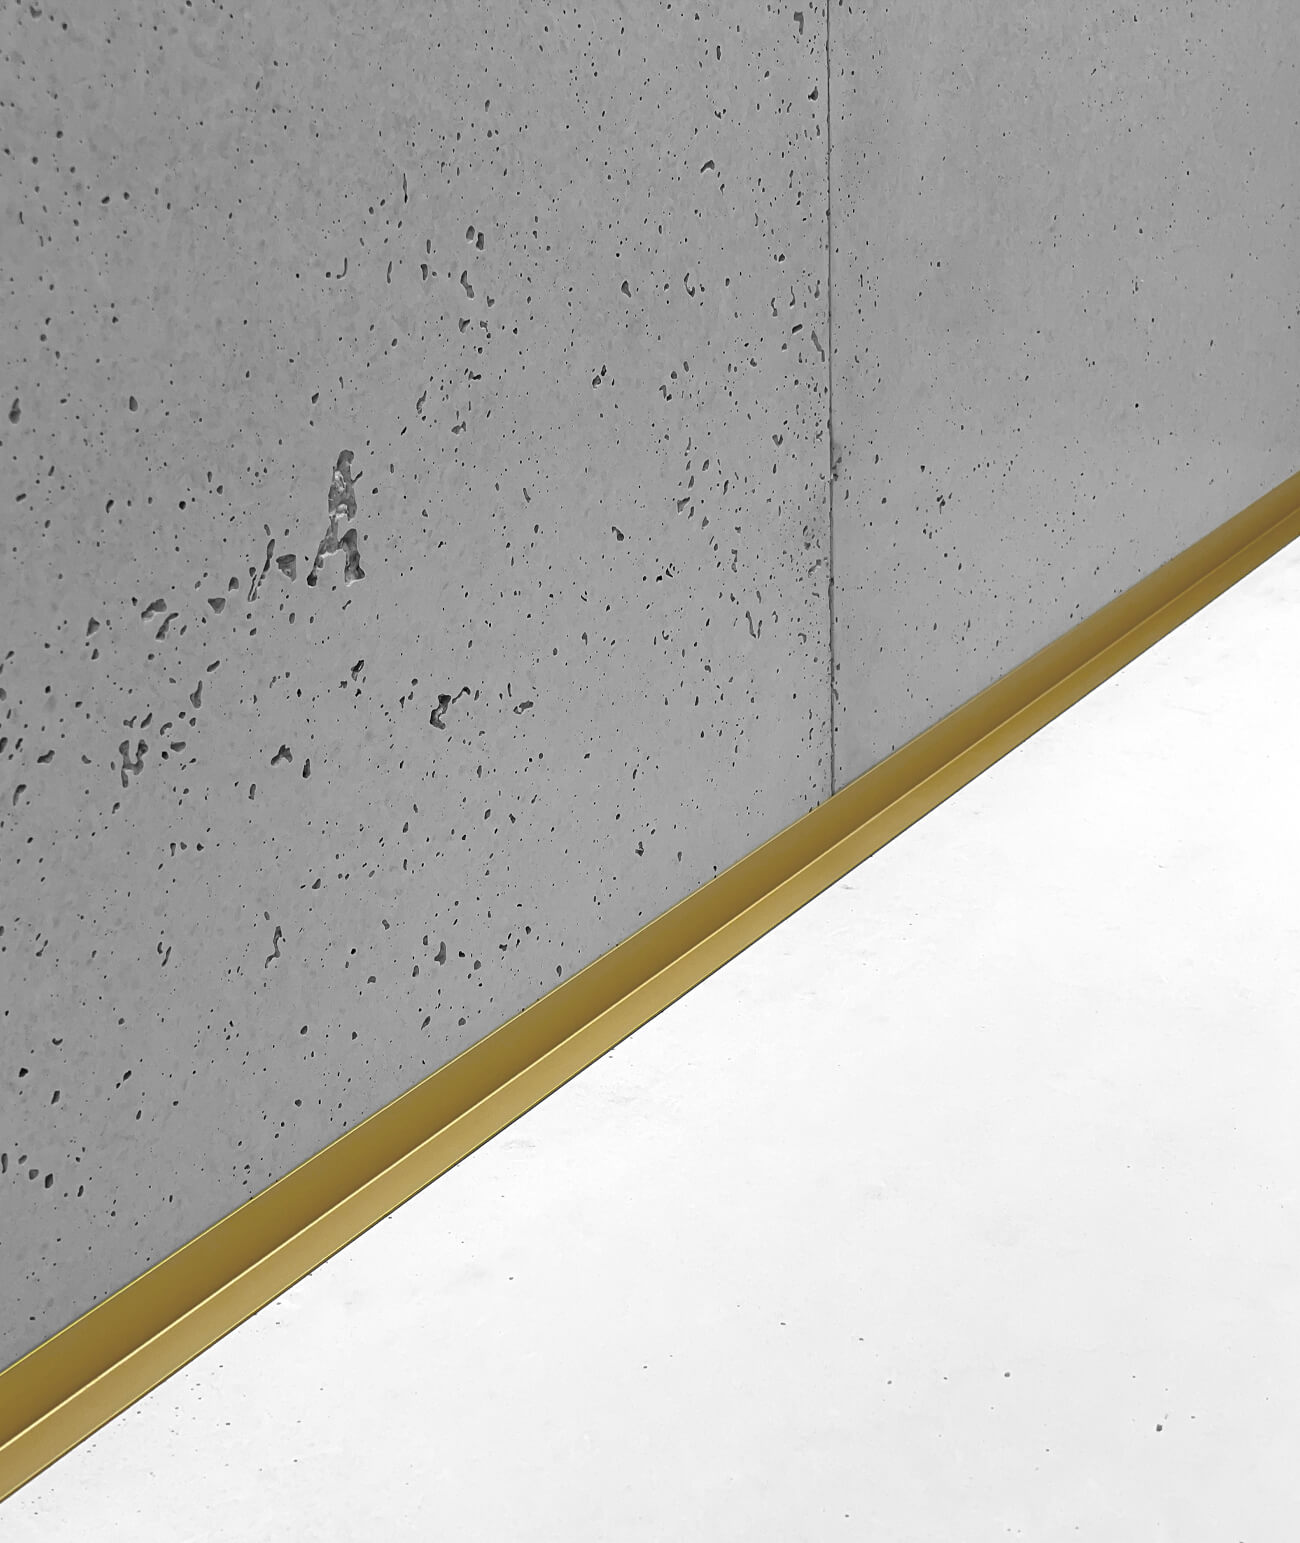
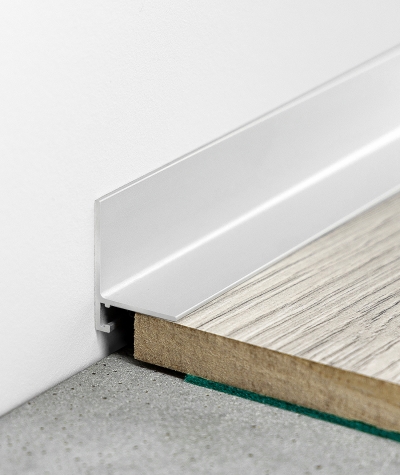
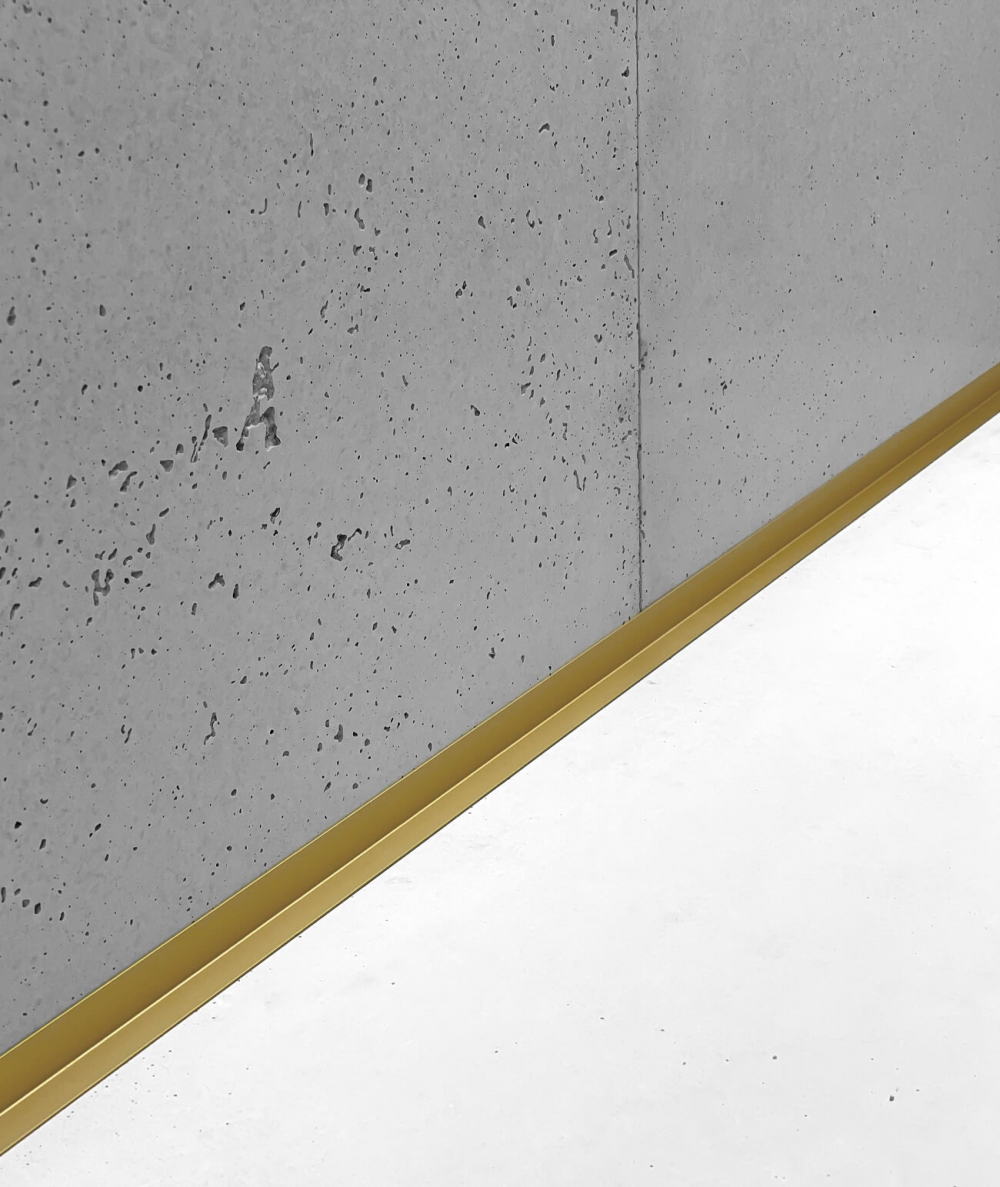
Minimalistic profiles providing discreet and innovative connection between floor and a wall, window, stairs or any desired surface. It will fit perfectly wherever, from the visual point of view, there is a need to make transitions and finishes of subtle and elegant floors.
Main product features:
Minimalistic, tidy and aesthetic
Quick & easy fitting - without tools, dirt and mess free
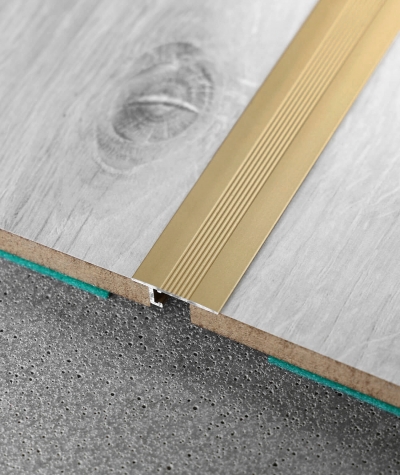
Perfect match for wooden and concrete surfaces, as well as parquetes and tiles
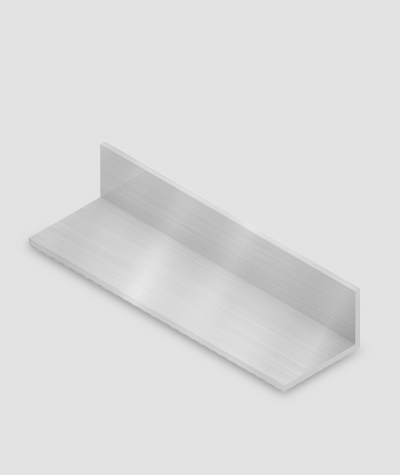
Aluminium build ensures durability, water resistance and prevents swelling
Universal design - subtle finishing touch for each interior
High scratch and wear resistance - can be used in both, home and commercial interiors
Available in 5 color versions
Price for one profile - 2 meters running (profile doesn`t contain mounting clips - available here)
Product innovation has been awarded with a prestigous Red Dot Award
Floors are a basic architectonical element. The way they are finished has major impact on how whole interior is perceived.
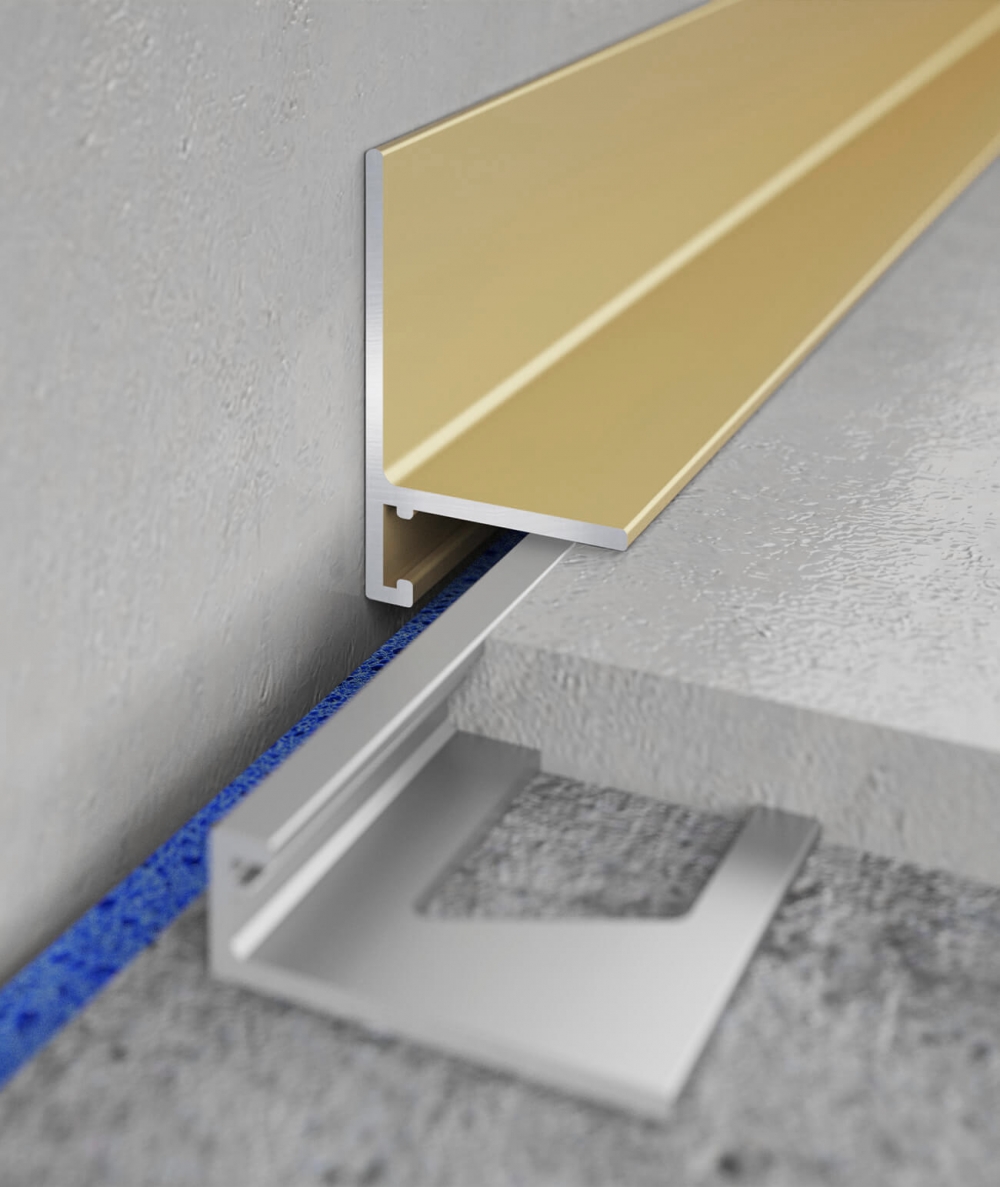
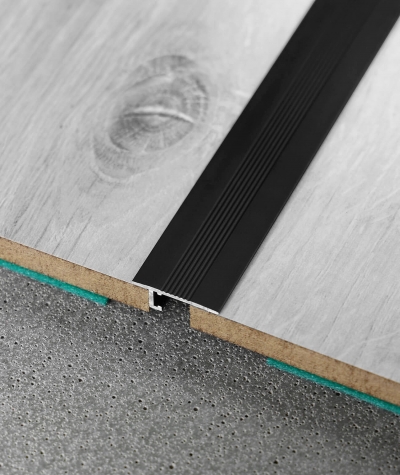
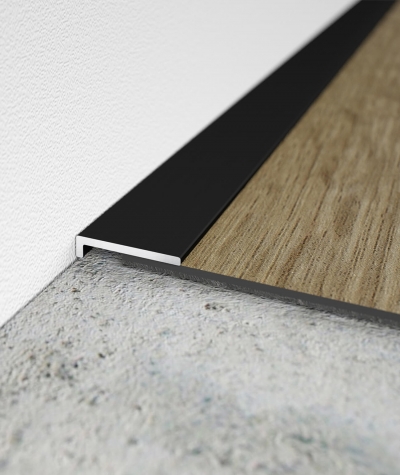
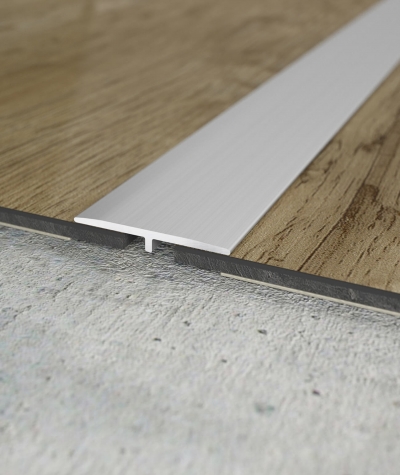
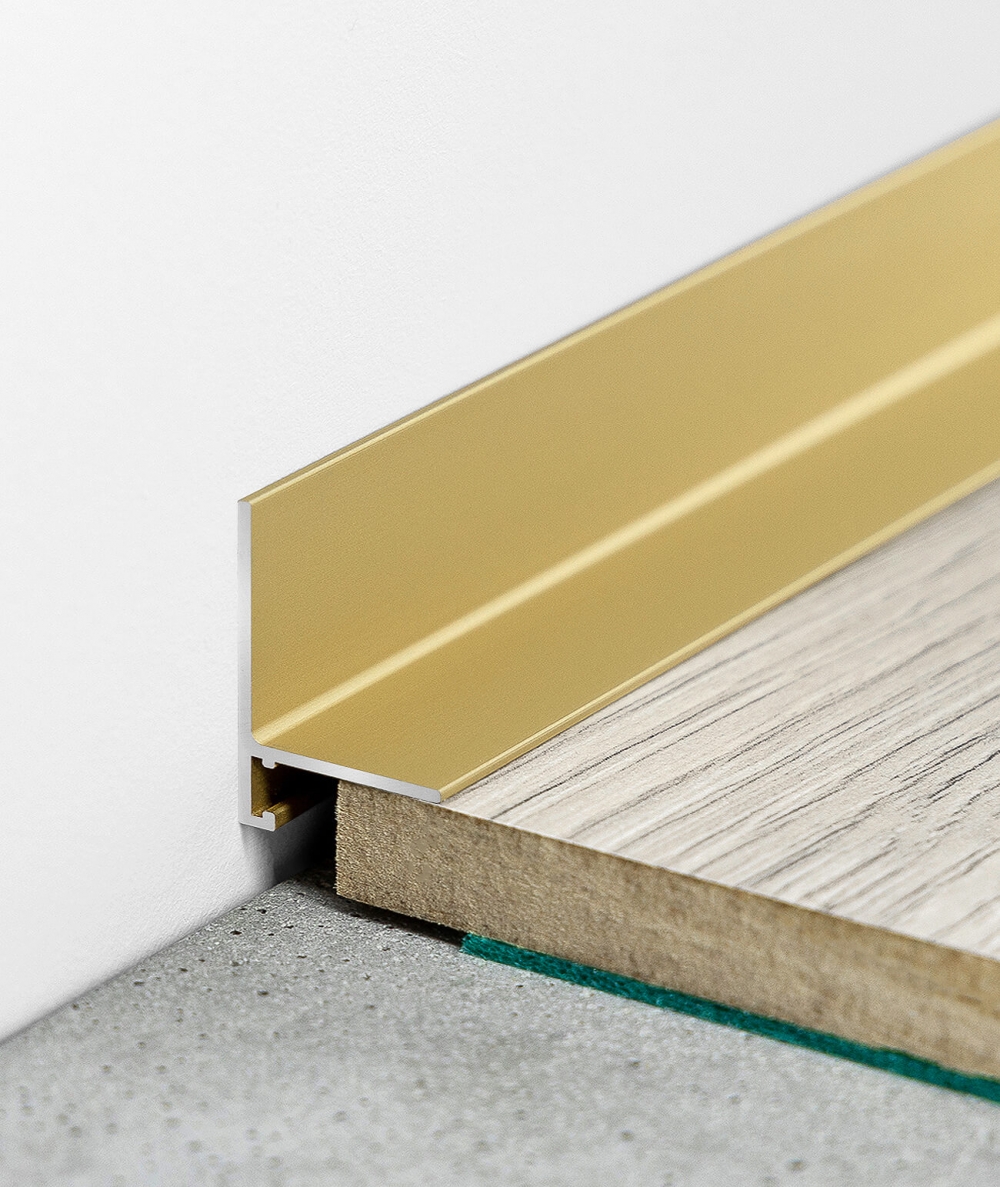
Finishing profiles Minileiste offer completely new approach to transitions - thoughtful design allows for almost perfectly flat transition between almost any surfaces, not only floor and a wall. High quality materials used in production of our profiles ensures very long life span of the product.
They are ideal for use both as a minimalist strip mounted against the wall as well as for connecting the floor around fireplaces, balcony windows and HST and PSK patio doors or very fashionable hidden doors.
Minileiste profiles stand out not only because of their quality and aesthetic aspect, but primarly due to simplicity of the installation process, not requiring any specific tools - without drilling, hammering or screwing.
Installation
Fitting process can be divided in 8 simple steps:
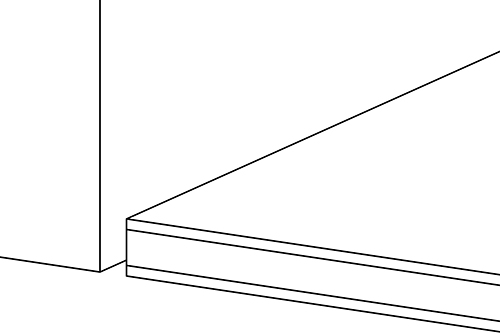
Step #1
The gap width, depending on the selected model, should be 5 - 8 mm or 5 - 13 mm. The thickness of the floor covering should also be taken into account. Our skirting boards can be used from the minimum thickness of 5 mm.
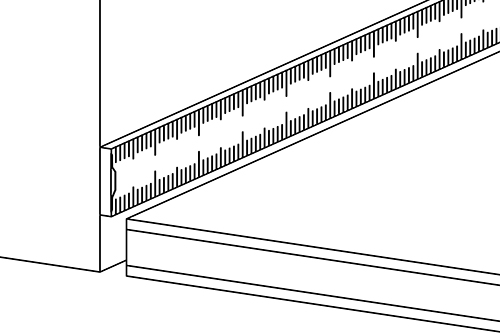
Step #2
Get the desired cut dimensions from the wall surface. Include miter cuts at inside and outside corners.
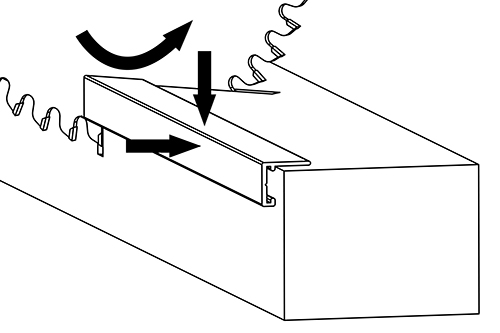
Step #3
Cut profiles to size. Miter cutting of an inside or outside corner is performed in one operation. The cutting direction of the saw presses the profile against the wooden support during the cutting process.
Step #4
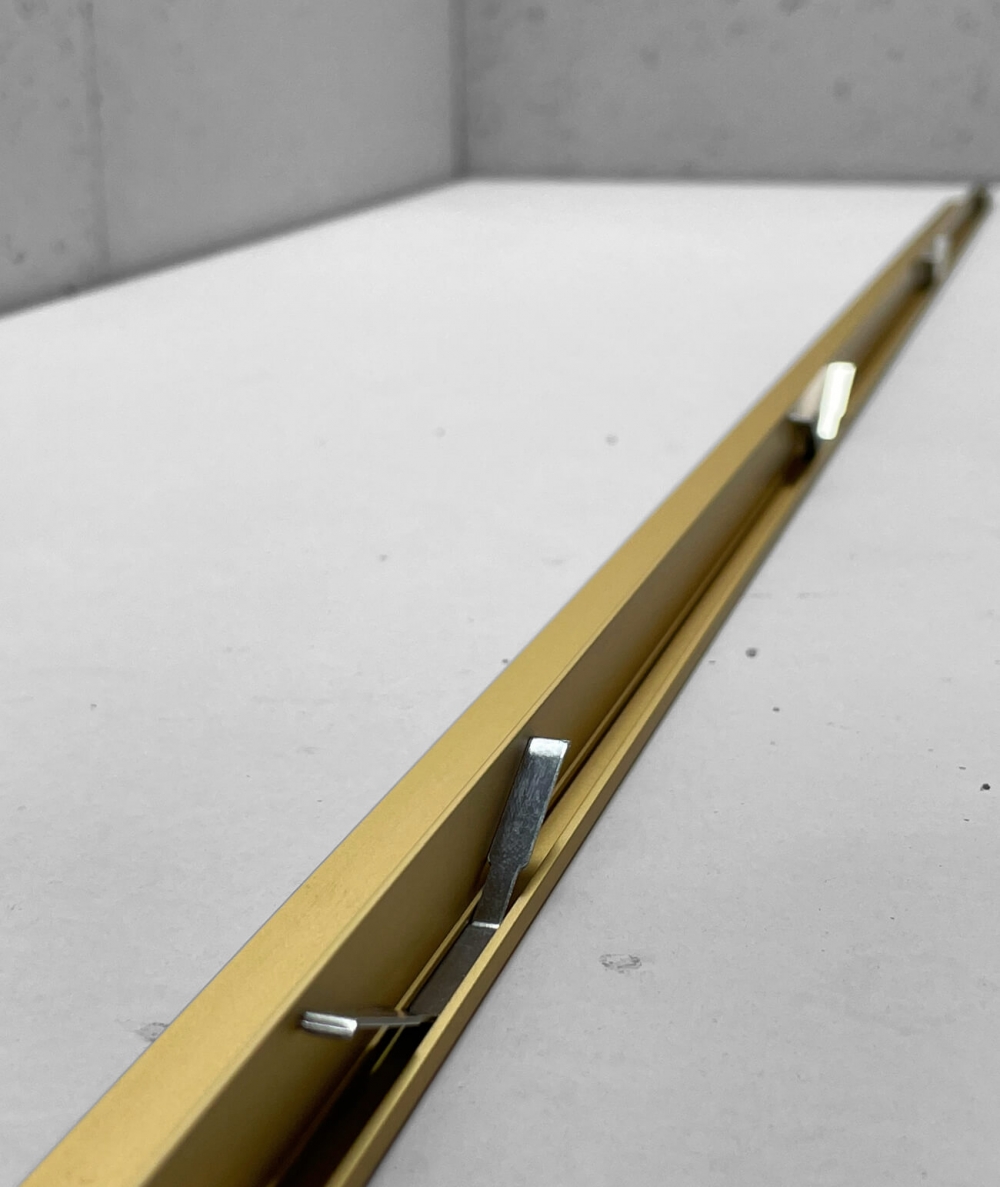
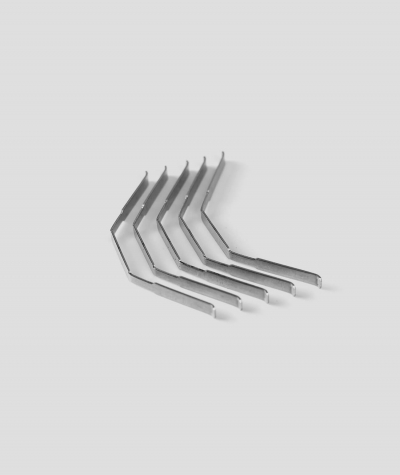
Insert the mounting clips on the side of the profile. Note: There are two opposite arms built into the profile, between which mounting clips can be easily led.
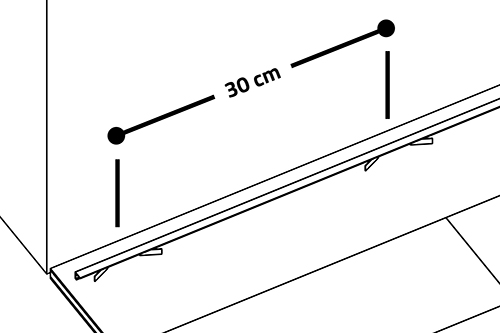
Step #5
Mounting clips should be placed approximately 30 to 60 cm apart. Depending on the unevenness of the wall, individual mounting clips can be installed at closer intervals so that the profile is flush with the wall.
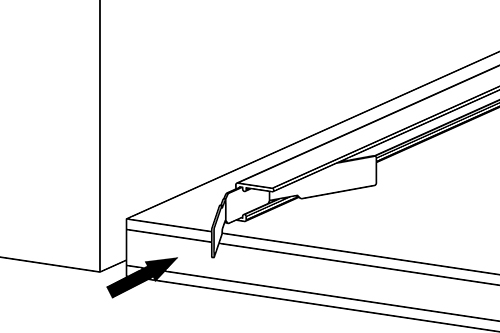
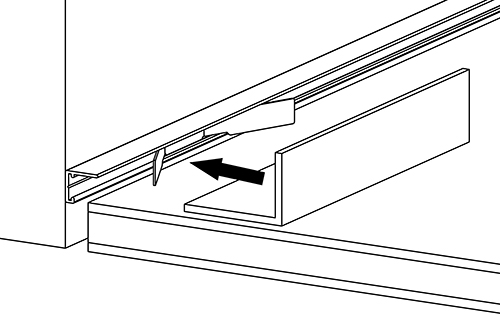
Step #6
Profile with inserted mounting clips should be placed in the mounting position on the wall surface. Unfold the mounting clips by carefully pressing them against the wall using a dedicated mounting tool.
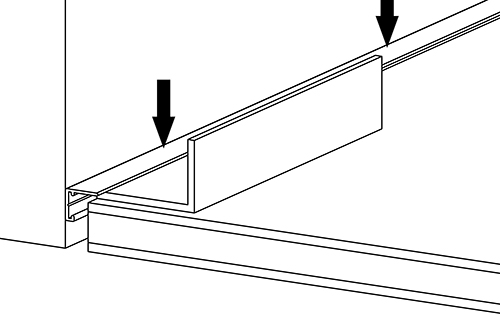
Step #7
Press the profile against the floor and repeat the assembly process until all strip clips are tight and sunk. The profile can be removed at any time in order to make any corrections.
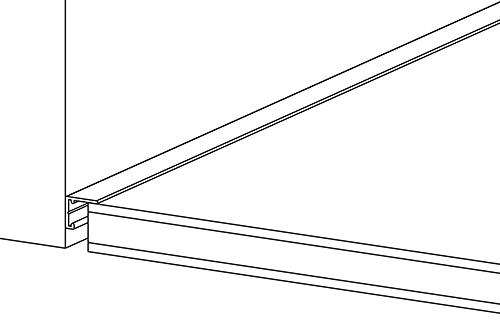
Step #8
Profile has been successfully installed. After a short check, the next section can be fitted.
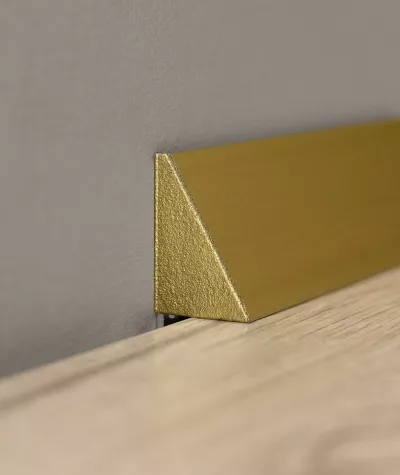
WN_MI/przypodlogowy/cokol/zloty/5-8/SL16X5-05
Data sheet
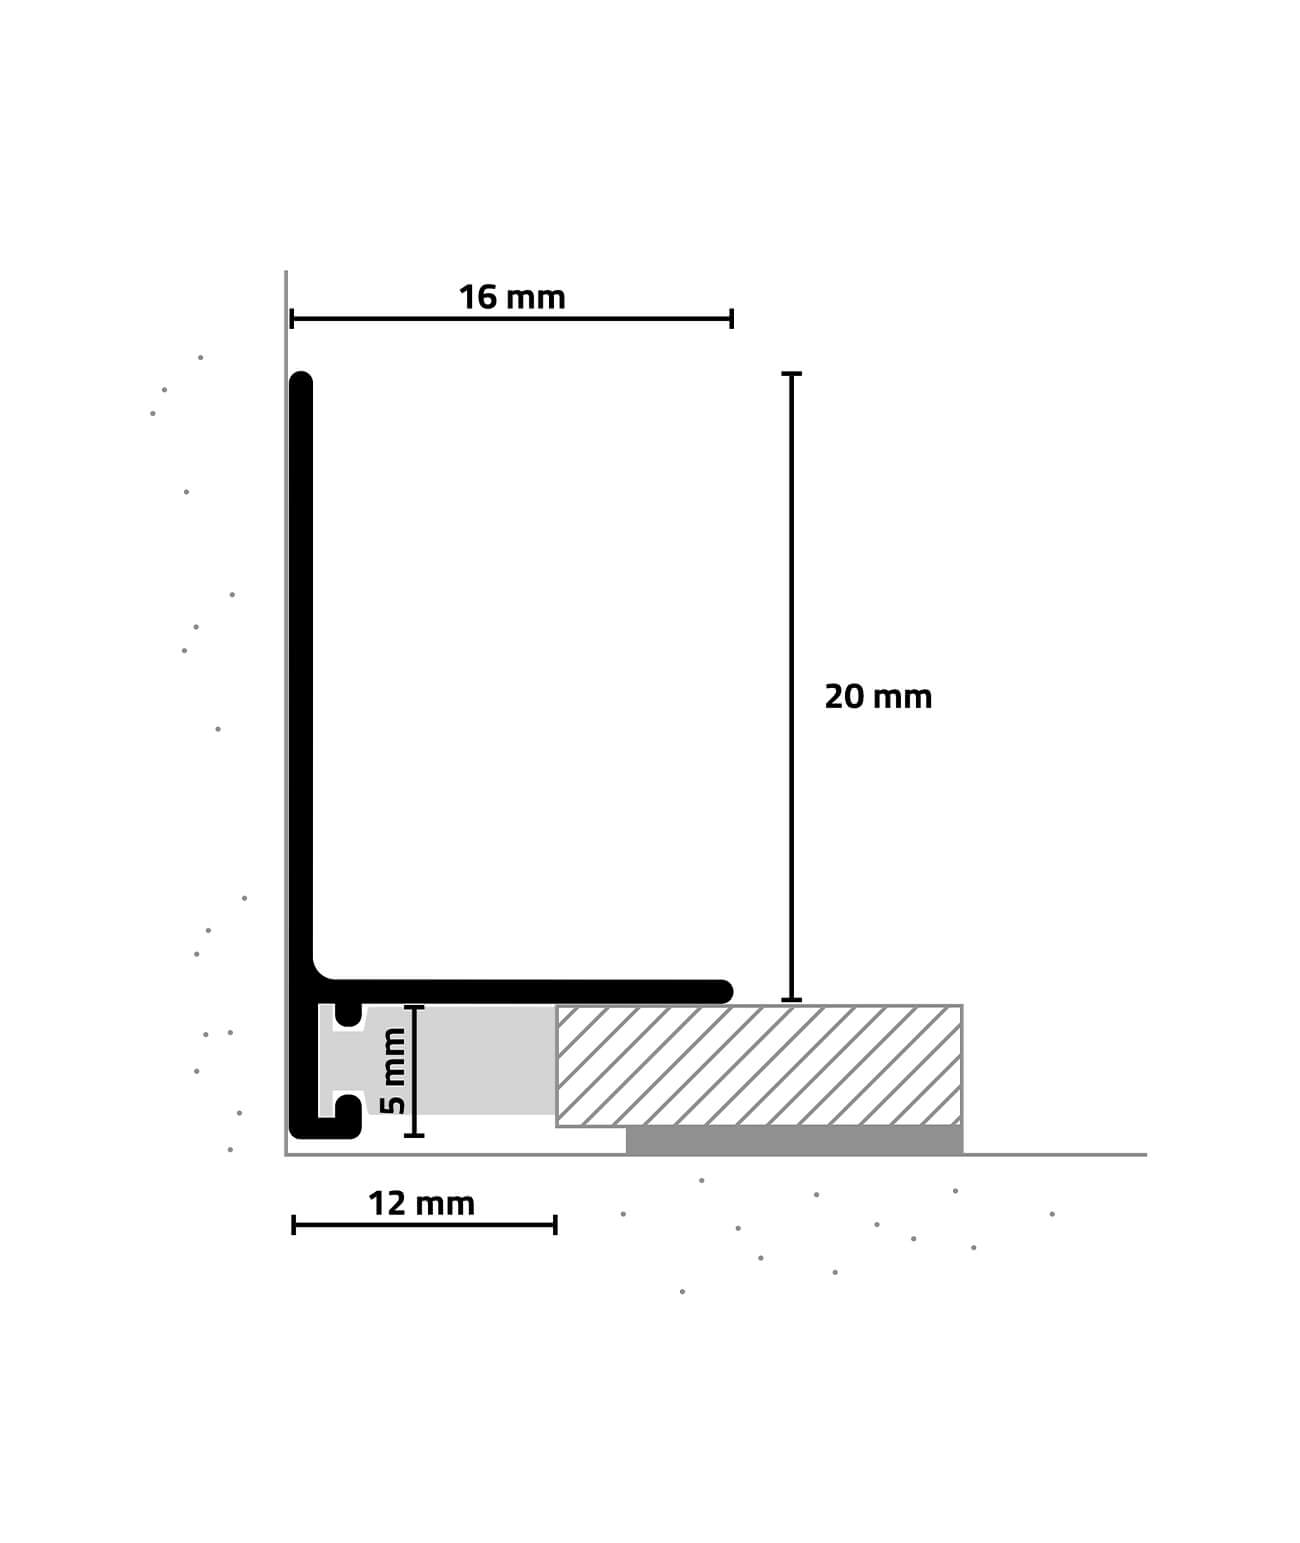
Dimensions
200 x 1,6 x 2 cm
Material
Aluminium
Color
Gold
Weight
Flat (10 mm) - 106 g Flat (16 mm) - 142 g Skirting - 256 g Transition - 154 g
Minimal covering thickness
5 mm
Minimal gap height
5 mm
Connection width
Flat (10 mm): 5 - 8 mm Flat (16 mm): 5 - 13 mm Skirting: 5 - 13mm Transition: 5 - 13 mm
Type
End profile
Purpose
Indoor
Length
200 cm
Width
16 mm
Height
20 mm
To kitchen
Yes
To bathroom
Yes
To living room
Yes
For commercial and service premises
Yes
Custom dimensions
No
Factory cutting to size
No
Trimming by the customer
Yes
Drilling required
No
Gluing required
No
Scratch resistance
High - 33 (DIN EN 13329)
Mounting
Clips
Set of
Profile only
Profile
Skirting
I'M ORDERING
PRODUCT
Floor type
Laminate, parquet, tiles, vinyl (thickness from 5 mm)


 - Minimalistic skirting profile")