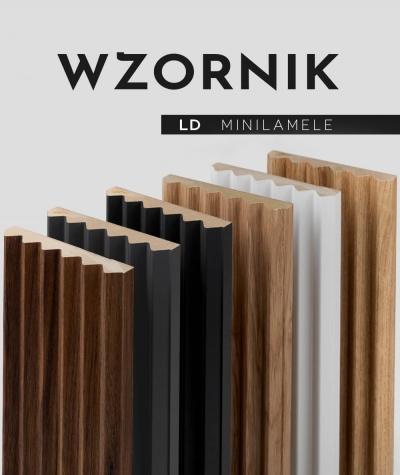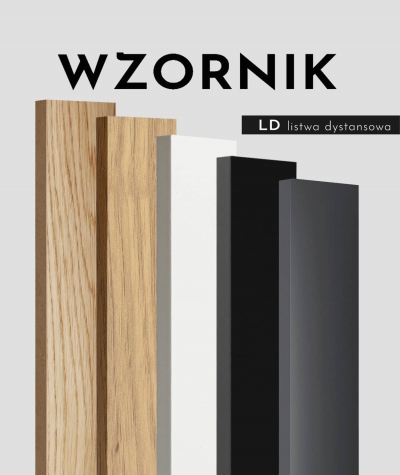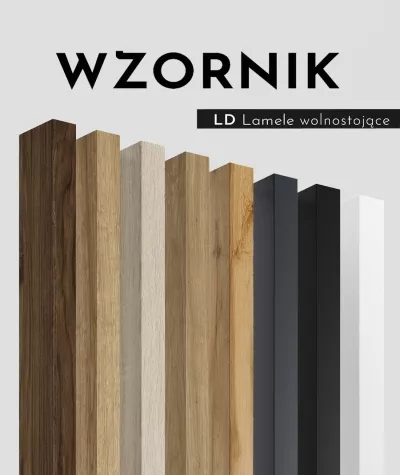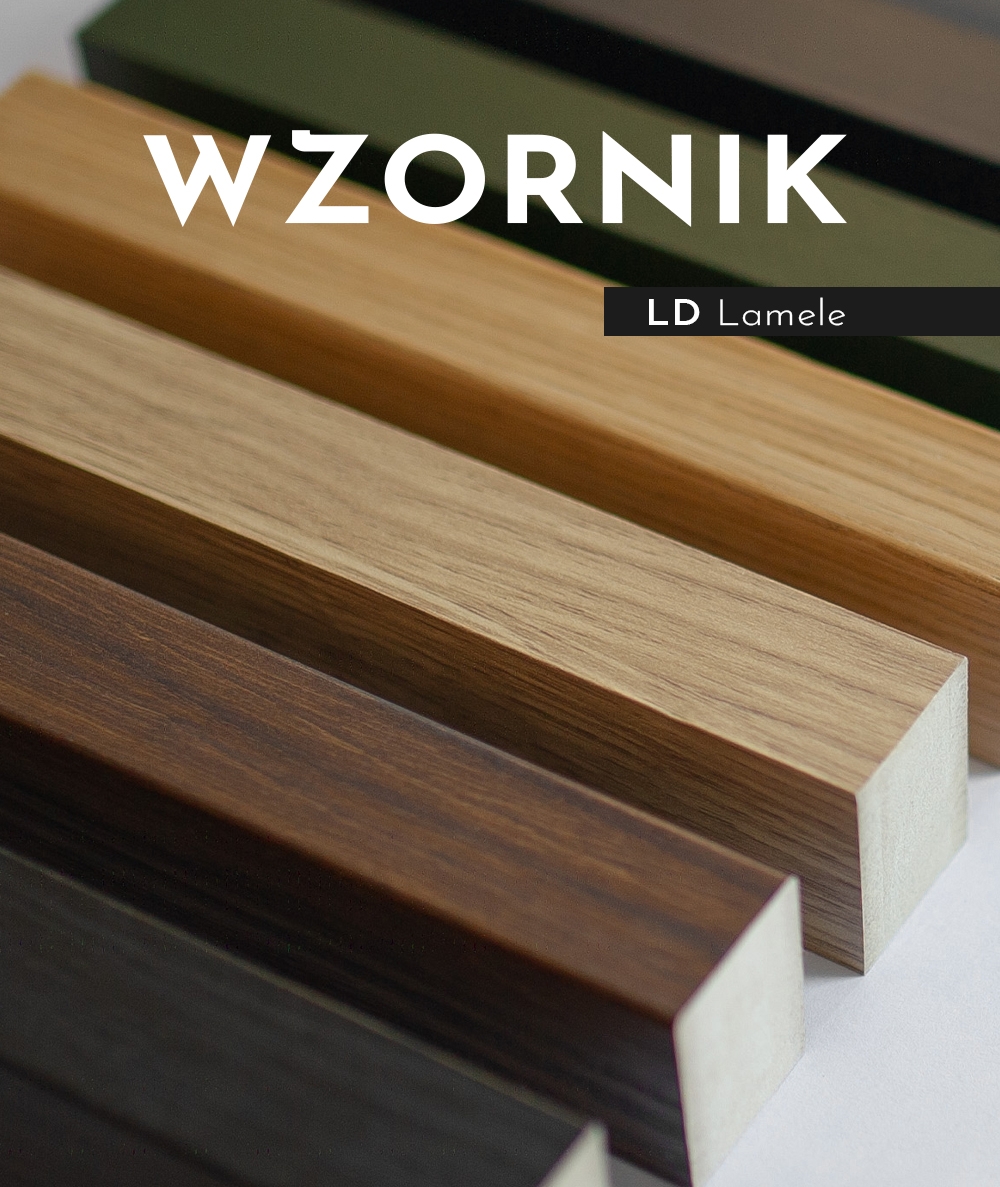
Sampler for LD lamellas standard
zł29.99
Tax included
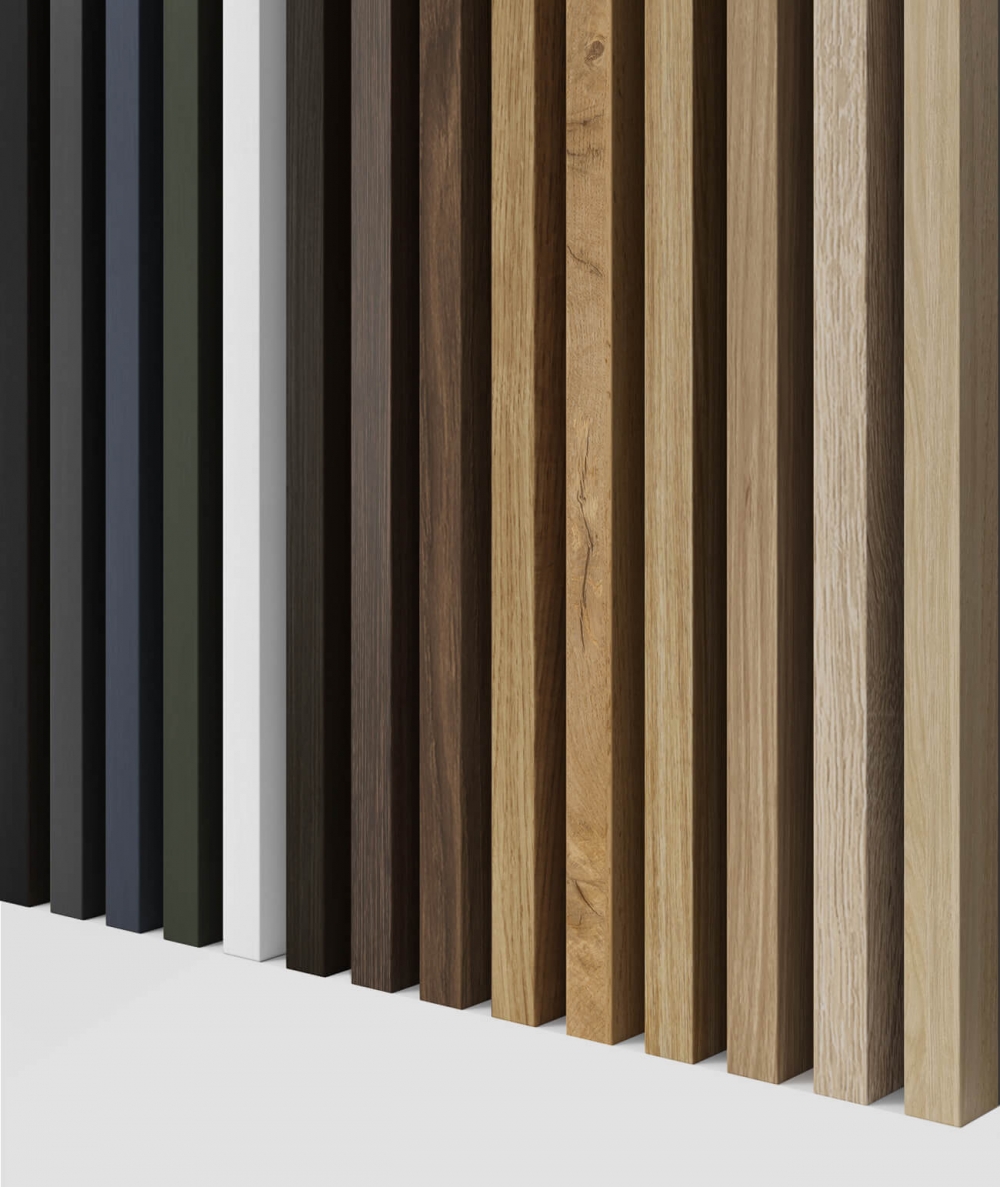
The sampler contains 14 color versions of lamellas.


Professional customer service

Secure delivery sent directly to you
13 of the sampler elements in the package are laminated, and 1 is covered with oak veneer.
The sampler includes colors such as:
Wotan Oak
Oak Nature
Sonoma Oak
European oak
Bleached oak
Black Oak
Classic walnut
Oak veneer
Matte white
Black mat
Graphite
Sand beige
Dark navy blue
Bottle green
Main product features:
- Aesthetics and careful workmanship
The highest standards are maintained during production - not only in terms of quality, but also visually. - A wide range of colors
LD lamellas are available in several colors, so you will surely find the perfect color for you. - Easy and cheap installation
Installation of wall lamellas is a very easy and cheap undertaking, it is enough to apply glue from the tube every 20 cm and press the lamella against the wall.
- Acoustic properties
Thanks to the soundproofing properties, the slats are perfect for rooms such as bedrooms, home cinemas and studio rooms. - Optical properties
The vertical form of the product makes the lamellas optically enlarge the space. - 2 YEARS WARRANTY
For all products from the LD series in compliance with assembly instructions .

SAMPLER-WN_LD/wzornik_lamele_LD_standard
Data sheet
- Type
- Standard lamella
INSTALLATION INSTRUCTIONS
I. Lamellas with slats in between (without drilling and painting)
- Prime the wall (it does not need to be painted)
- Apply assembly adhesive to the lamella (or TESA 4957 assembly tape)
- Glue the lamellas to the wall and check the vertical with a spirit level
- Apply mounting glue to the finishing strip between the lamellas
- Glue the finishing strip against the lamella
- Attach another strip and repeat the operation until the desired width is achieved
II. Lamellae glued directly to the wall (without drilling)
- Prime the wall and paint it in the appropriate color
- Apply mounting adhesive to the strip (or TESA 4957 mounting tape)
- Glue the strip to the wall and check the vertical with a spirit level
- When gluing another profile, insert the spacers - between the profiles at the top and bottom.
- Continue gluing the profiles, shifting the distances between the next profiles
- Remove the spacers and you are done!
Related Products (There are 8 other products in the same category)