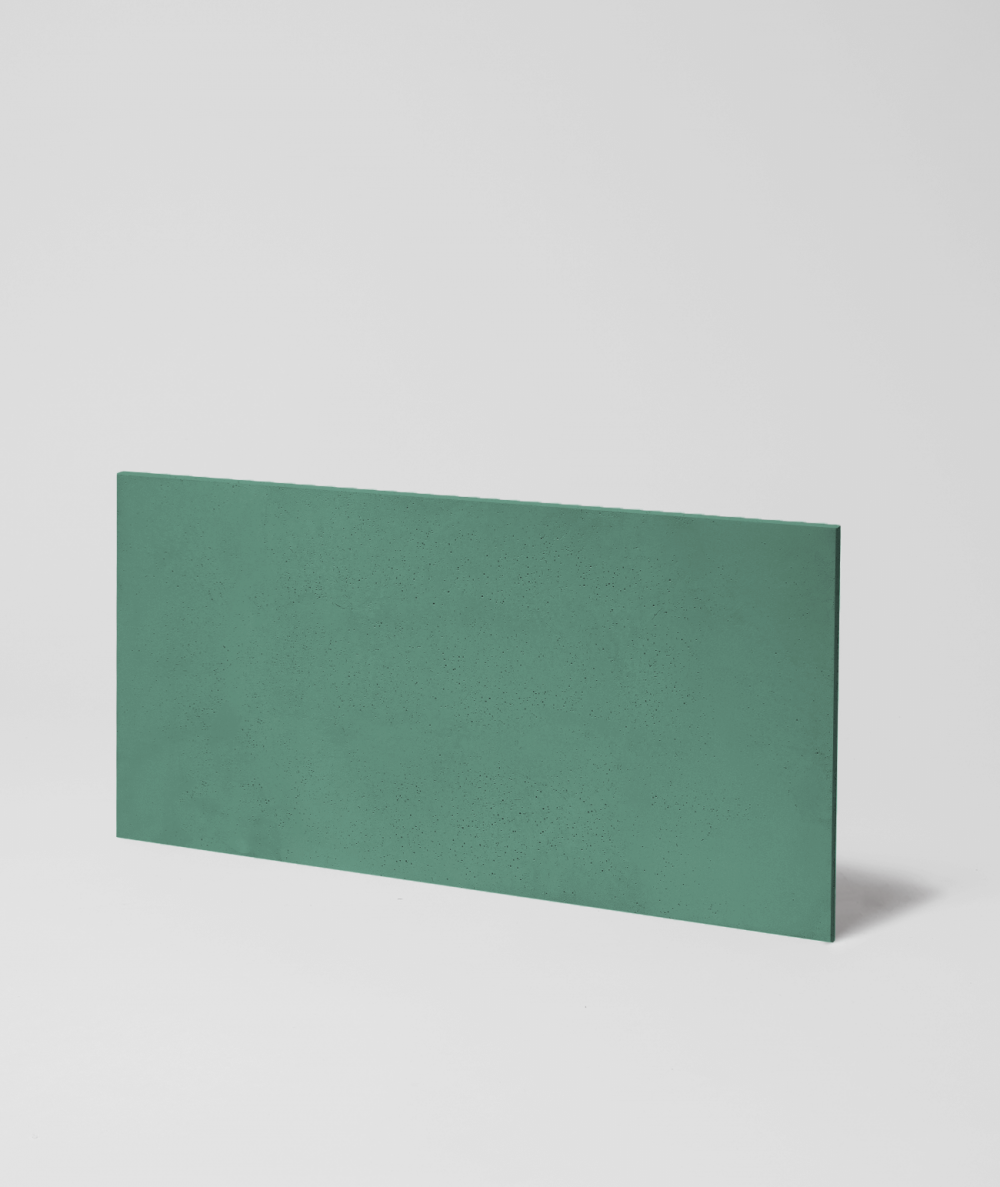
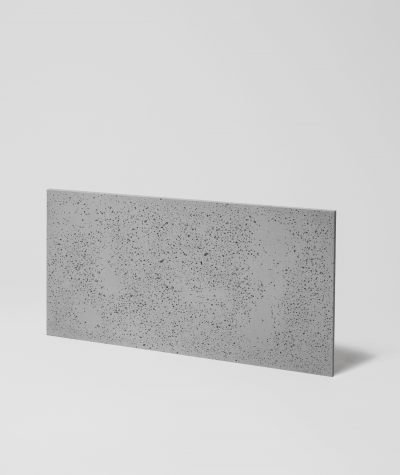
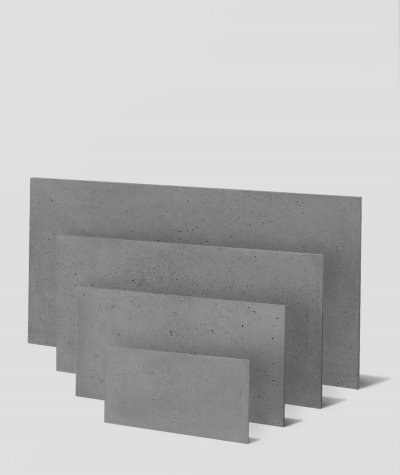
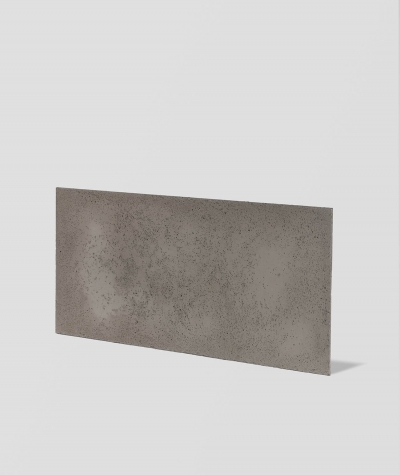
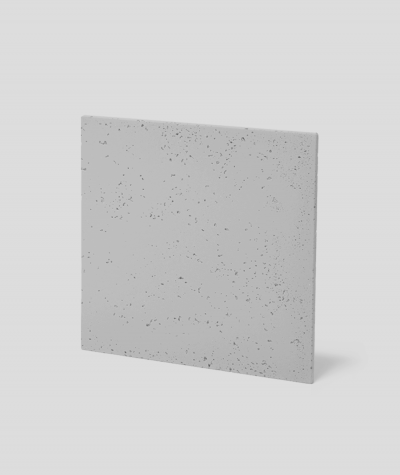
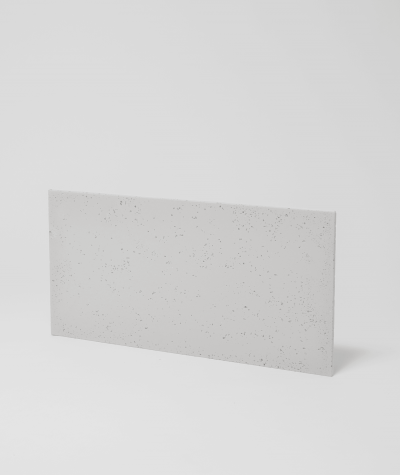
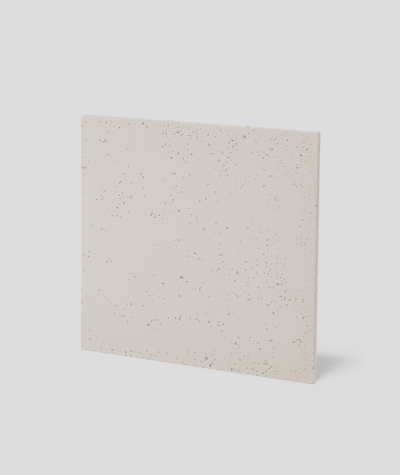
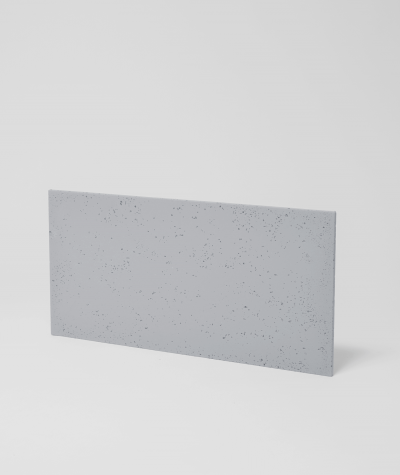
DS (green) - architectural concrete slab various dimensions

zł120.99

(zł241.98 / m2)

Tax included

PRC concrete slabs are available in 1 cm of thickness, which allows you to mount them in any way available on the market.

I'M ORDERING
Type
Decoration
Porosity
Dimensions
Thickness
Impregnation
Color:

Dark green

Quantity
czas realizacji Order fulfillment: up to 14 working days


Professional customer service


Secure delivery sent directly to you
kruszywa ozdobne seria ds

Main product features 


light Light
30x60 cm - approx. 3 kg
60x60 cm - approx. 6 kg
100x50 cm - approx. 8 kg
120x60 cm - approx. 12 kg


frost resistant  Frost resistant

fireproof  Fire resistant


Purpose: walls / facades / fences / fireplaces


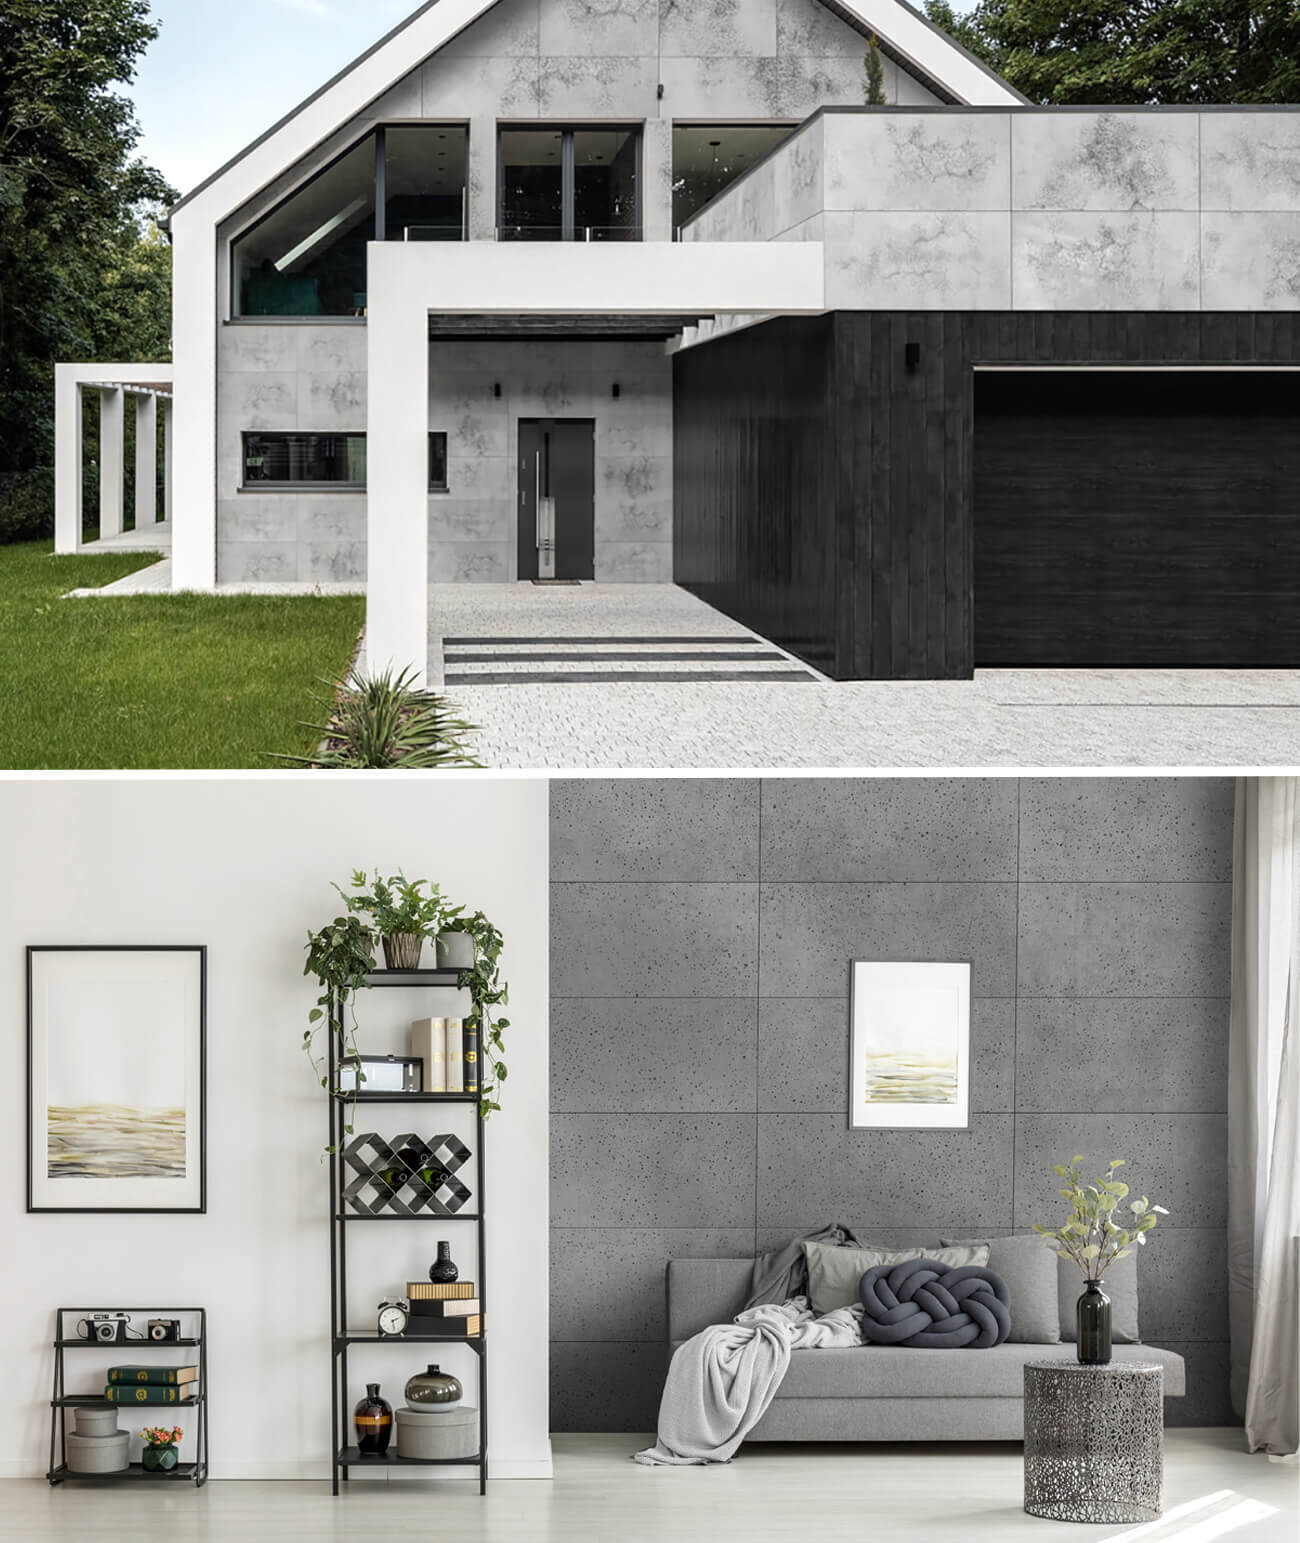
Concrete slabs can be used both indoors and outdoors as a form of the facade. In combination with various patterns of 3D panels available in our store (see products), you can create unique and modern interiors and building facades. The slabs can also be successfully laid on fences and fireplaces due to their fire resistance. 

Properties


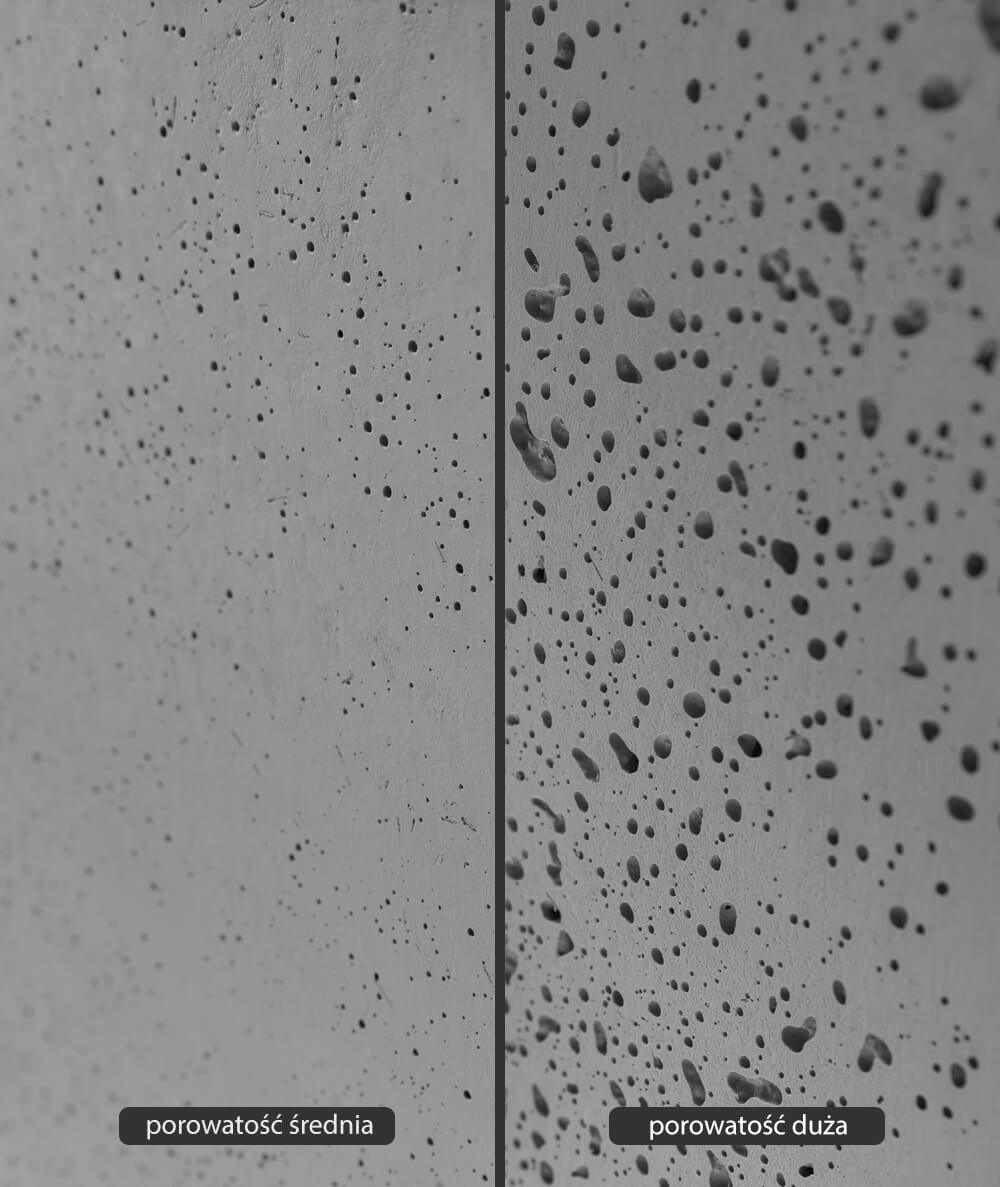
medium porosity  high porosity  Two types of porosity

Medium, characterized by small, round holes resulting from the air-entrainment of concrete with a thin consistency, evenly distributed over the entire slab.

Large which has larger, irregular holes, resulting from the use of a denser concrete mix. They occur unevenly, which may result in fragments without holes or with fewer of them. This is the result of the manual trowelling of concrete in forms. 


resilience  Resilience

Architectural concrete PRC (Polymer Fiber Reinforced Concrete), from which the slabs are made, is concrete reinforced with polymer fiberThanks to this structure, the produced slabs can be 1 cm thick, maintaining the strength and durability of two or three-times thicker concrete slabs produced using traditional methods. Compressive strength - strength class C20/22. Reaction to fire - class A1.
rodzaje porowatosci ds
impregnacja zdjęcie

Impregnation


Depending on the room in which we want to use the slabs, they should be properly impregnated. For this purpose, we recommend using an impregnation from our offer (impregnation - buy the product).


impregnationFactory impregnation

In addition, we offer factory-impregnated slabs options for even greater convenience and speed of installation. Just select this option from the drop-down list of available product combinations. 

Necessary mounting accessories

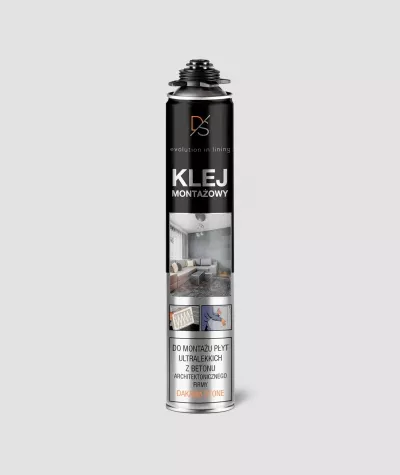
Klej

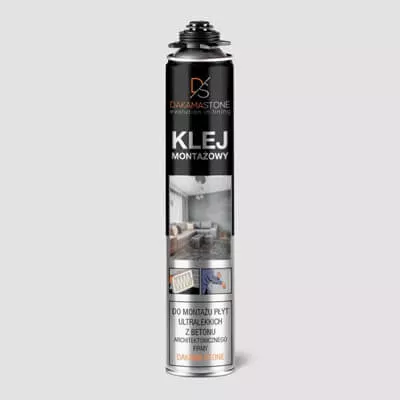
Glue

Grunt

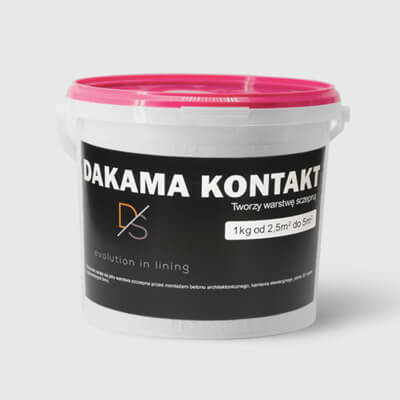
Primer

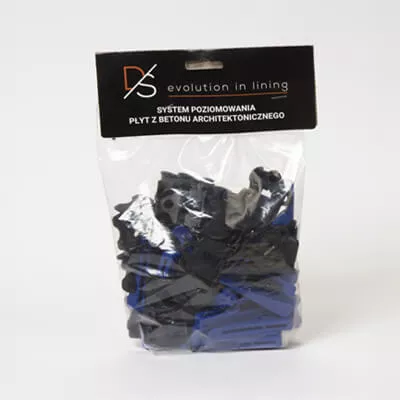
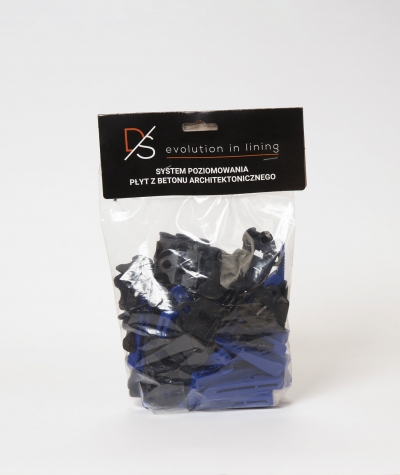
System poziomowania

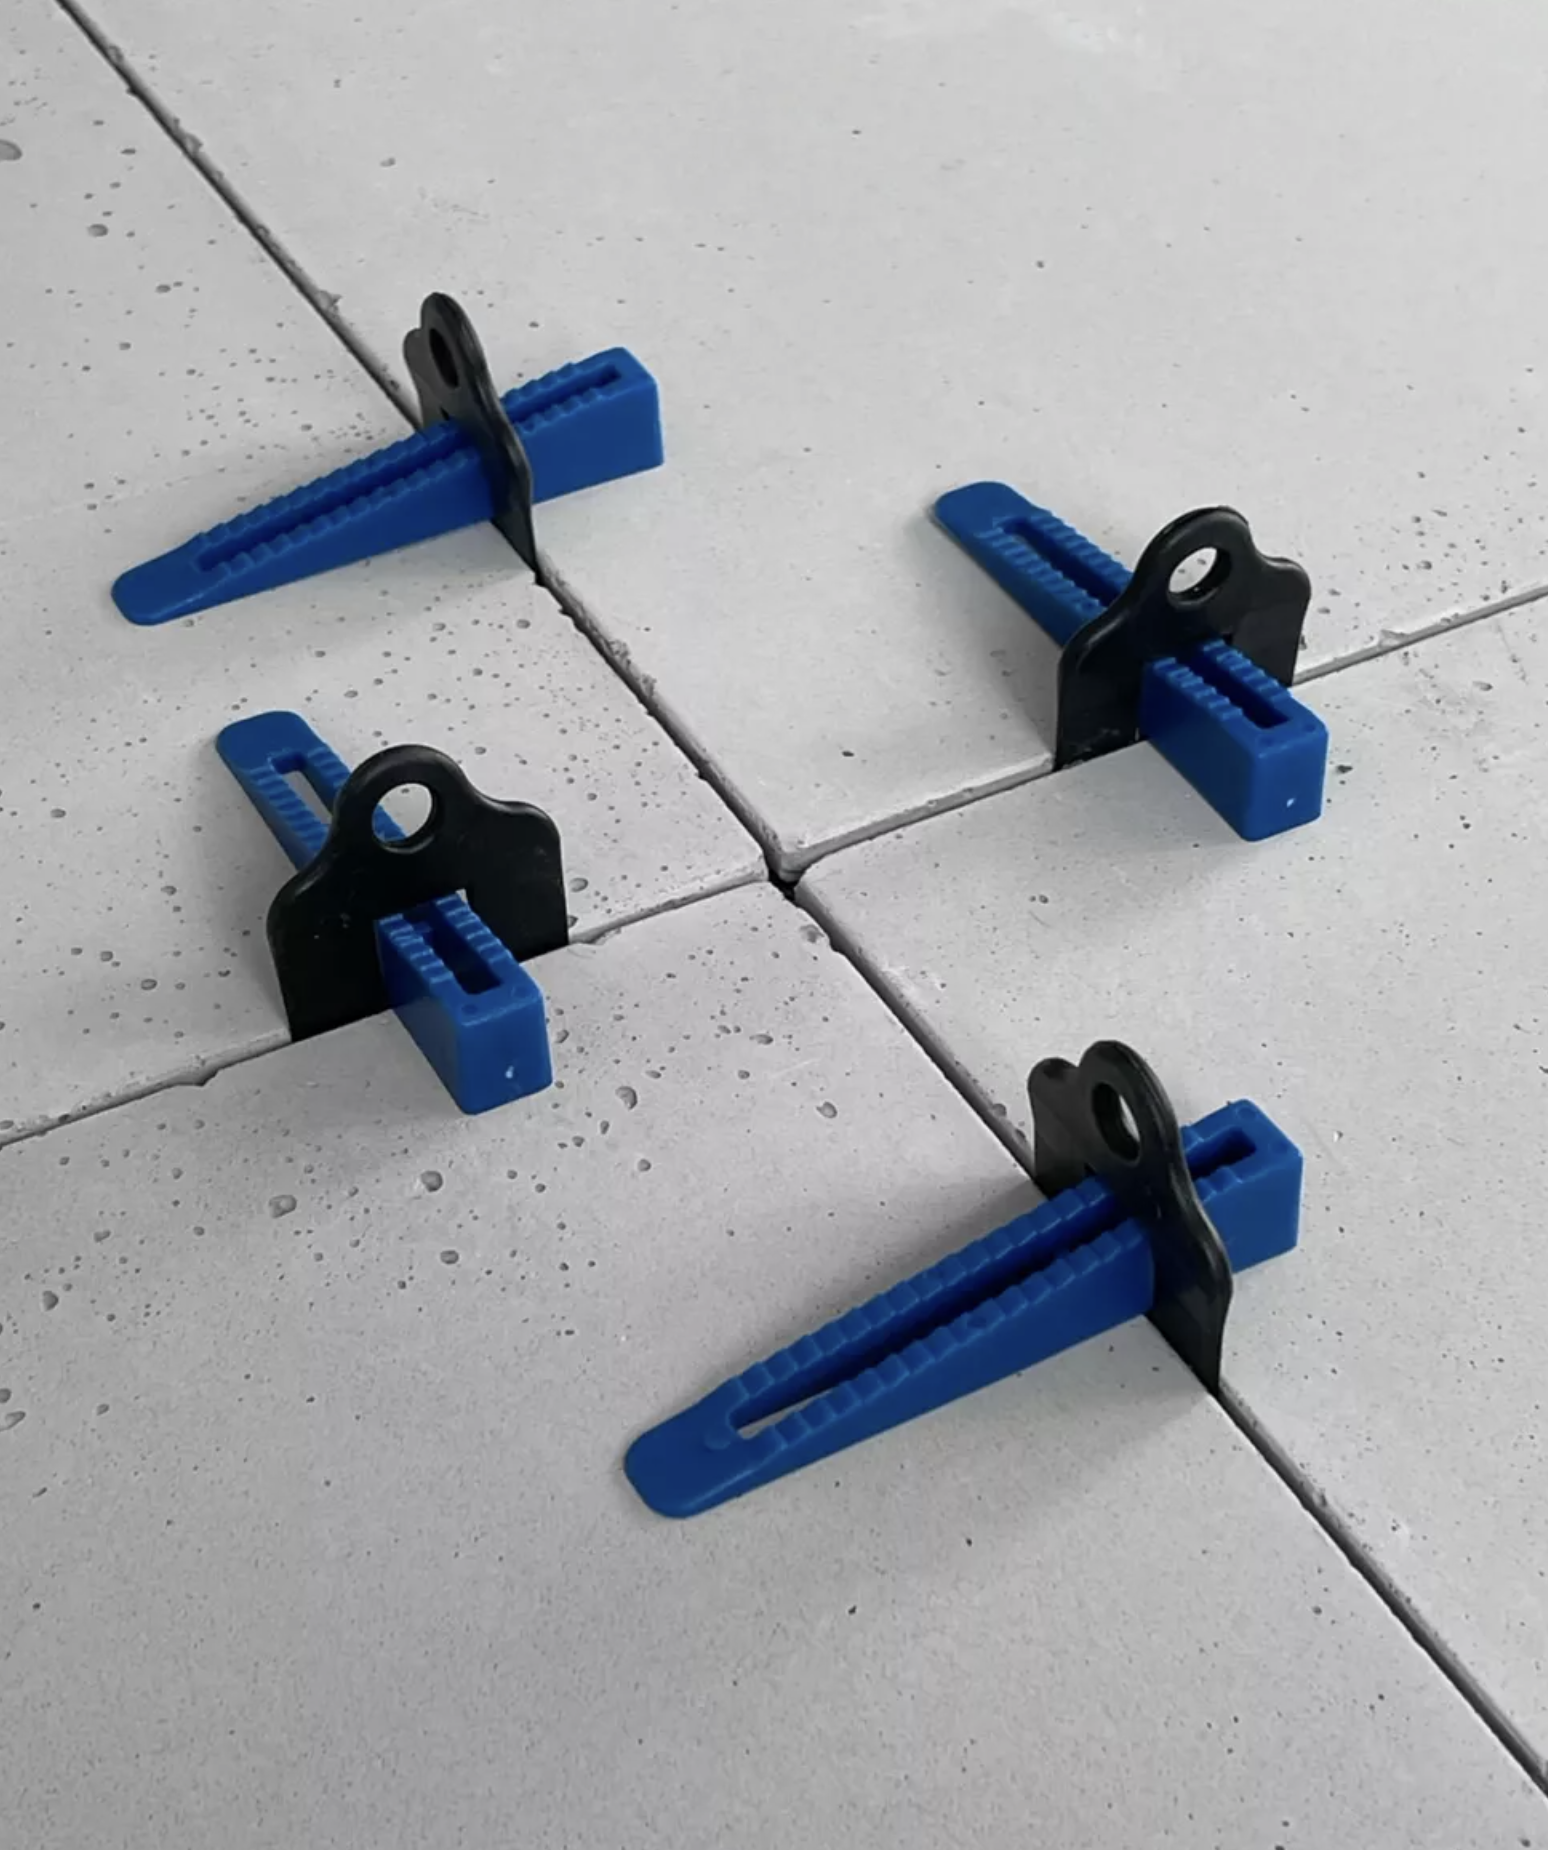
Leveling system

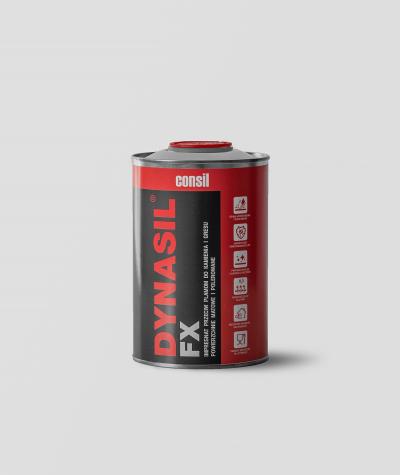
Impregnat

Impregnate

Machining concrete slabs of the DS series


cut to size  Cutting to size

Our slabs can be easily cut to the desired size using diamond discs for concreteYou can use a regular angle grinder or a circular saw for this purpose. Cutting should be done dry without the use of water. 


drilling holes  Drilling holes

Using drills and hole saws for concrete, mounting holes for sockets or TV brackets can be made in the slabs. All holes must be drilled without hammering

narzedzia do docinania i wiercenia
system montazu

Installation


motnaz Easy and cheap assembly 

The thickness of the slabs, 1 cm, simplifies the installation procedure, all you need is polyurethane foam from the DS series available in our store (does not require anchors, additional reinforcements or other stabilizers in the case of internal walls). The slabs can be mounted to OSB, MDF or GK slabs if you do not want to sand the paint and putty on the substrate. The gypsum substrate is not suitable for direct bonding of architectural concrete. 

instruction Installation instructions

The complete, detailed installation and storage instructions after delivery are available for download here.


extended warranty Extended warranty

2-year warranty against damage after installing the slabs, using a dedicated mounting kit, listed in the "necessary mounting accessories" section.
Cracks, deformations, and falling off the wall - may occur if the recommended accessories are not used.
Read the assembly instructions before starting any assembly work.

How to choose the right amount of slabs and accessories for your wall? 


Use the calculator that we have designed for a comprehensive selection of all necessary materials.

calculatorCalculator

Step 1 -  enter the dimensions of the wall
The calculator will calculate, based on them, the number of panels and accessories needed for installation. Then, from the available slab sizes, select the slab size and the horizontal or vertical orientation.

Step 2 -  see the proposed arrangement of slabs on the wall
The calculator takes into account cutting up to two elements with a factory-cast edge from one slab. You will be offered the number of slabs along with the necessary accessories for assembly. 

Step 3 -  add products to the cart
After going to the cart, you will receive additional information on delivery costs. 

Thanks to the one-step shopping cart, the ordering process is very simple and fastIn one window, you will enter shipping data, and invoices, choose the transport and payment method, and finish the whole process with fast payments by Przelewy24.pl or a traditional transfer.

 

Go to the calculator 

gif z kalkulacją

Additional information Additional information:

▫️ For the installation of concrete panels, it is recommended to use dedicated mounting accessories also available in our store.

▫️ Possible factory deviations of architectural concrete slabs should be reported before installation.

▫️ Due to the characteristics of architectural concrete, differences in the number and size of pits on the surface of individual slabs are possible. Color and dimensional discrepancies (+/- 3 mm) are also allowed.

▫️ Before installation, check the entire batch of slabs and plan the distribution of individual slabs and the order of their assembly by choosing slabs from different places on the palette to preserve the natural appearance of the wall.

▫️ For demonstration purposes, the slabs in the photos, from the implementation and visualizations are shown in different color versions. To make a color selection based on actual colors, we suggest purchasing a concrete slab sample book

▫️ The colors displayed on customer monitor screens may differ from the actual color due to discrepancies in the matrices and calibration of the displays.

▫️ The slabs may have cast residues on the edges, which the assembly team should sand down before laying the slabs on the wall.

▫️ Please note that our boards may contain visible polymer fibers which are used to increase their strength. The appearance of these fibers, also on the surface of the board visible after gluing, is not considered a defect, but is a natural result of the production process. Therefore, their presence does not authorize the submission of complaints, as they are an integral feature of this product.

WN_DS/2D/BASIC/Zielony/100x50/SP

Data sheet

Slab series
(2D) DS series
Dimensions
100x50 cm
Material
Concrete
Structure
HAP (porous)
Porosity
Medium
Color
Dark green
Decoration
None
Weight
30x60 cm ~ 3 kg
60x60 cm ~ 6 kg
100x50 cm ~ 8 kg
120x60 cm ~ 12 kg
Type of reinforcement
PRC
Purpose
Indoor
Outdoor
Resistance
Fire-resistance
Frost-resistance
Water-resistance (after impregnation)
Thickness
1 cm
For facades
Yes (after impregnation and applying the grout)
To kitchen
Yes (after impregnation)
To the fireplace
Yes (with the use of appropriate glue)
To bathroom
Yes (with the use of impregnation and flexible grout)
On the floor
No
Impregnation
No
Custom dimensions
No
Factory cutting to size
No
Trimming by the customer
Yes (dry trimming with diamond tools)
Drilling by customer
Yes (drill without hammer)
Cutting holes by the customer
Yes (with diamond hole saw)
I'M ORDERING
PRODUCT

1. Enter data

Enter wall dimensions and desired slab orientation and we will calculate required amount of slabs and assembly chemicals for You.

Enter wall dimensions

Enter slab parameters

VT Series

Architectonic concrete - smooth or medium porosity.

płyta beton architektoniczny seria vt

  •  ORDER FULFILLMENT: 7-10 business days
  •  5 YEARS WARRANTY(with the use of dedicated assembly chemistry)

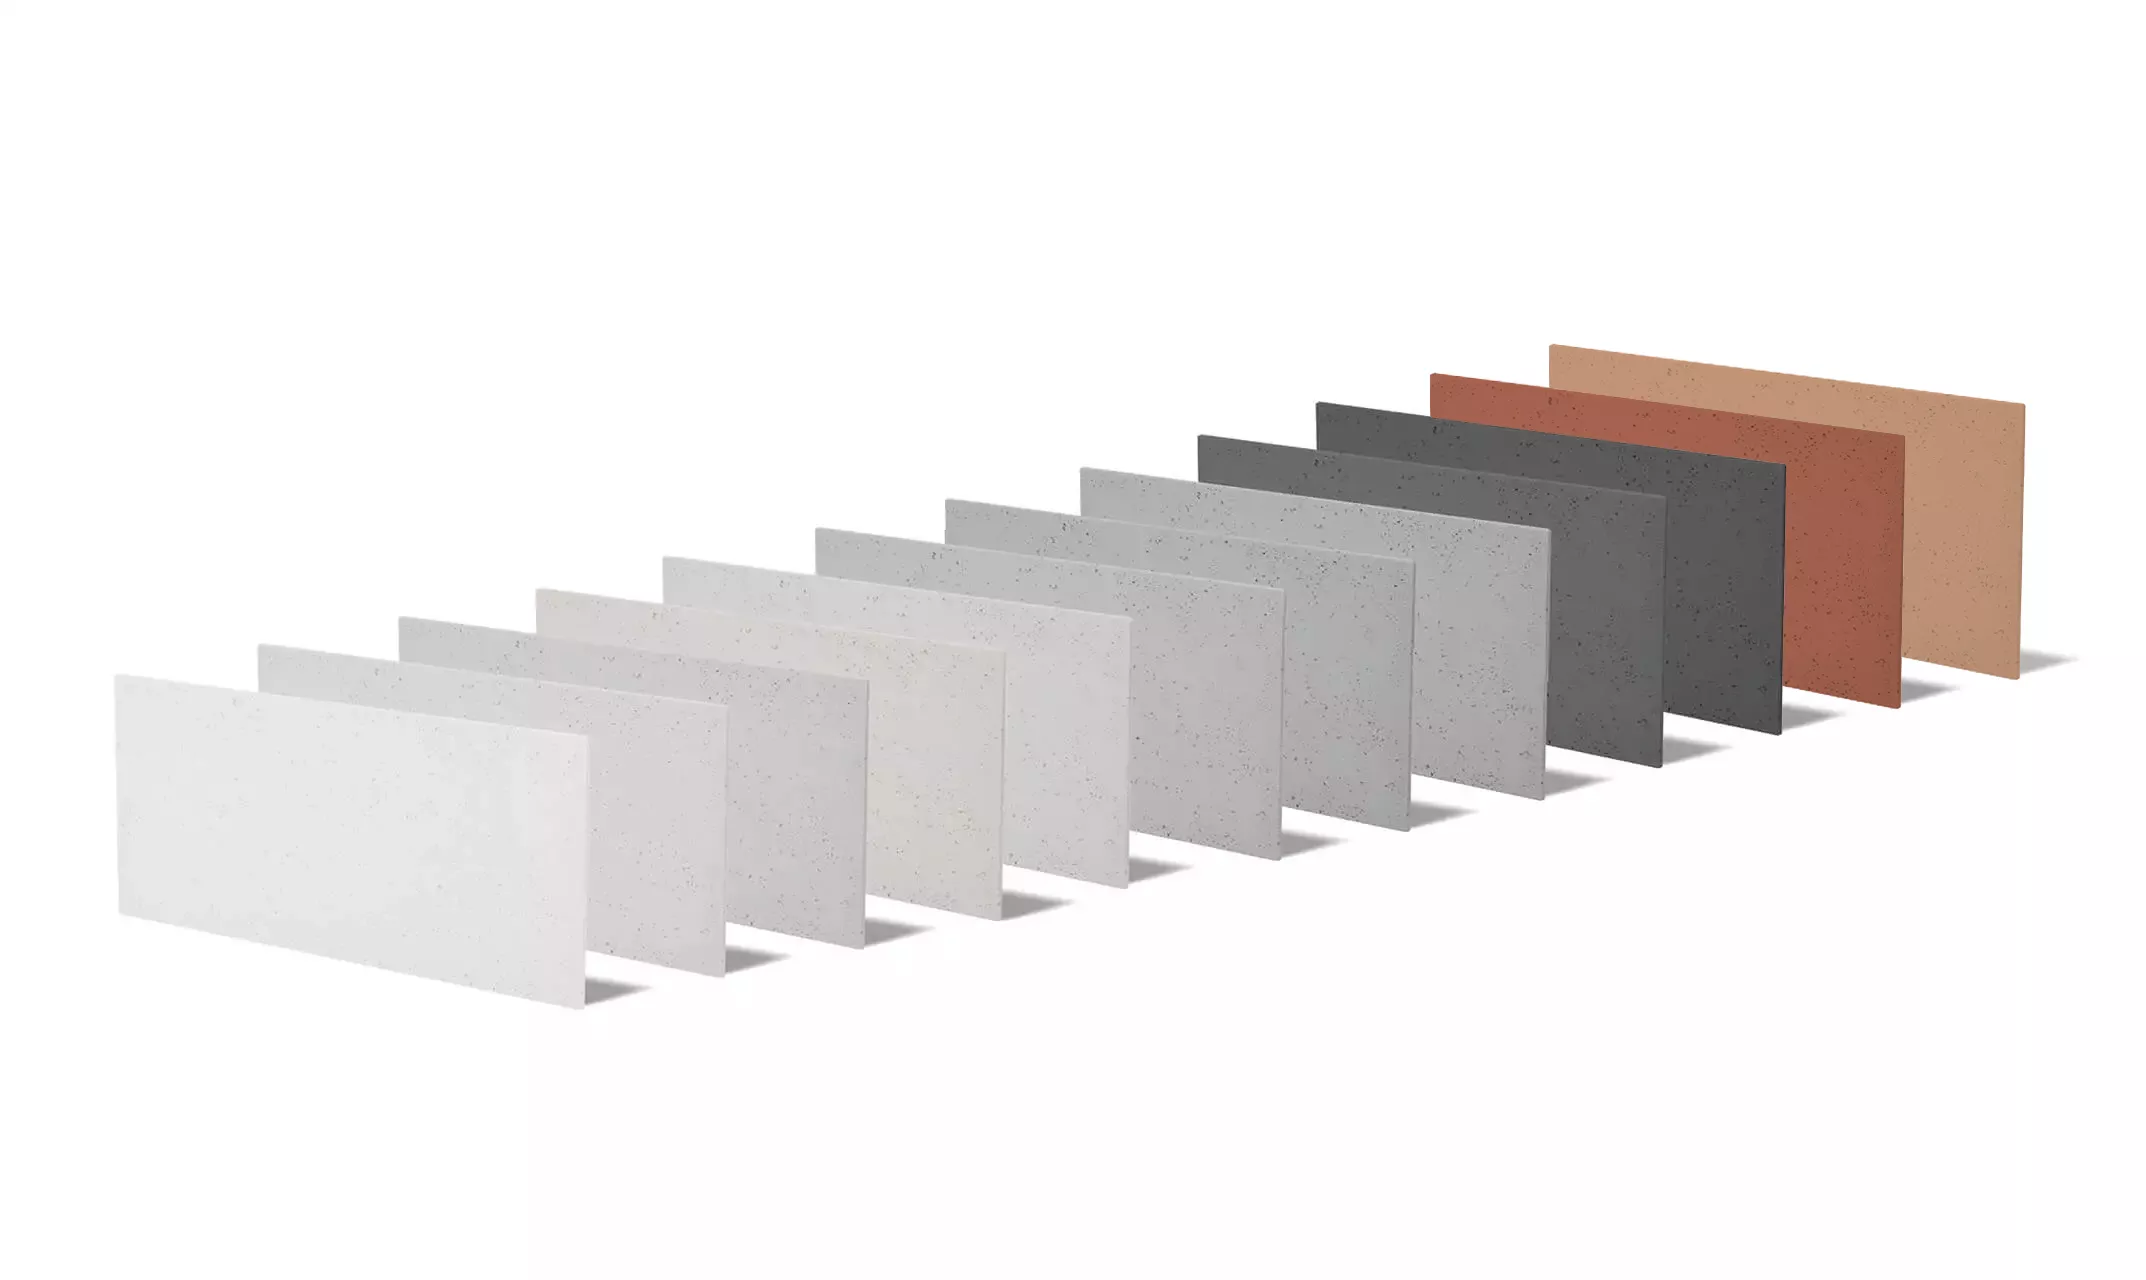
12 shades of 2D slabs in wide range of 17 sizes (wall and floor). It's characterized by high frost and flame resistance. Perfect for interiors, as well as facades, floors and terraces.


Available sizes:

  • 30x60x1 cm
  • 60x60x1 cm, 60x60x2 cm
  • 80x40x1 cm, 80x40x1,5 cm
  • 90x45x1 cm 
  • 90x55x1 cm
  • 100x50x1 cm, 100x50x2 cm  
  • 100x100x2 cm
  • 120x60x1 cm, 120x60x2 cm, 120x60x3 cm
  • 120x80x2 cm, 120x80x3 cm
  • 150x60x2 cm, 150x60x3 cm


Link to the entire series of VT 2D products in store: (VT Series (2D))
Additionally, 40 patterns of 3D Boards in 10 shades - fulfillment time: 7-10 business days
Link to the entire series of VT 3D products in store: (VT Series (3D))


DS Series

Architectonic concrete with medium or high porosity.


płyta beton architektoniczny seria ds

  •  ORDER FULFILLMENT: 14-21 business days
  •  8 basic colors in two porosities (white, light gray, dark gray, anthracite, brown, cappuccino, graphite, green)
  •  3 particle colors in two porosities (gold, silver, black)
  •  7 colors of corten (white, gray, anthracite, graphite, cappuccino, brown, green (patina))

The DS series is handcrafted and the concrete features a very strong PRC-reinforced structure.

Series attributes:

  • Frost-resistant
  • Flame-resistant
  • For interiors and facades
  • Easy installation


Available sizes:

  • 30x60x1 cm
  • 60x60x1 cm
  • 100x50x1 cm
  • 120x60x1 cm


Link to the entire series of DS products in store: (DS Series)


LS Series

Architectonic concrete with medium porosity.

płyta beton architektoniczny seria ls

  •  ORDER FULFILLMENT: 3-9 business days for standard sizes of slabs and 14-30 business days for non standard sizes of slabs.
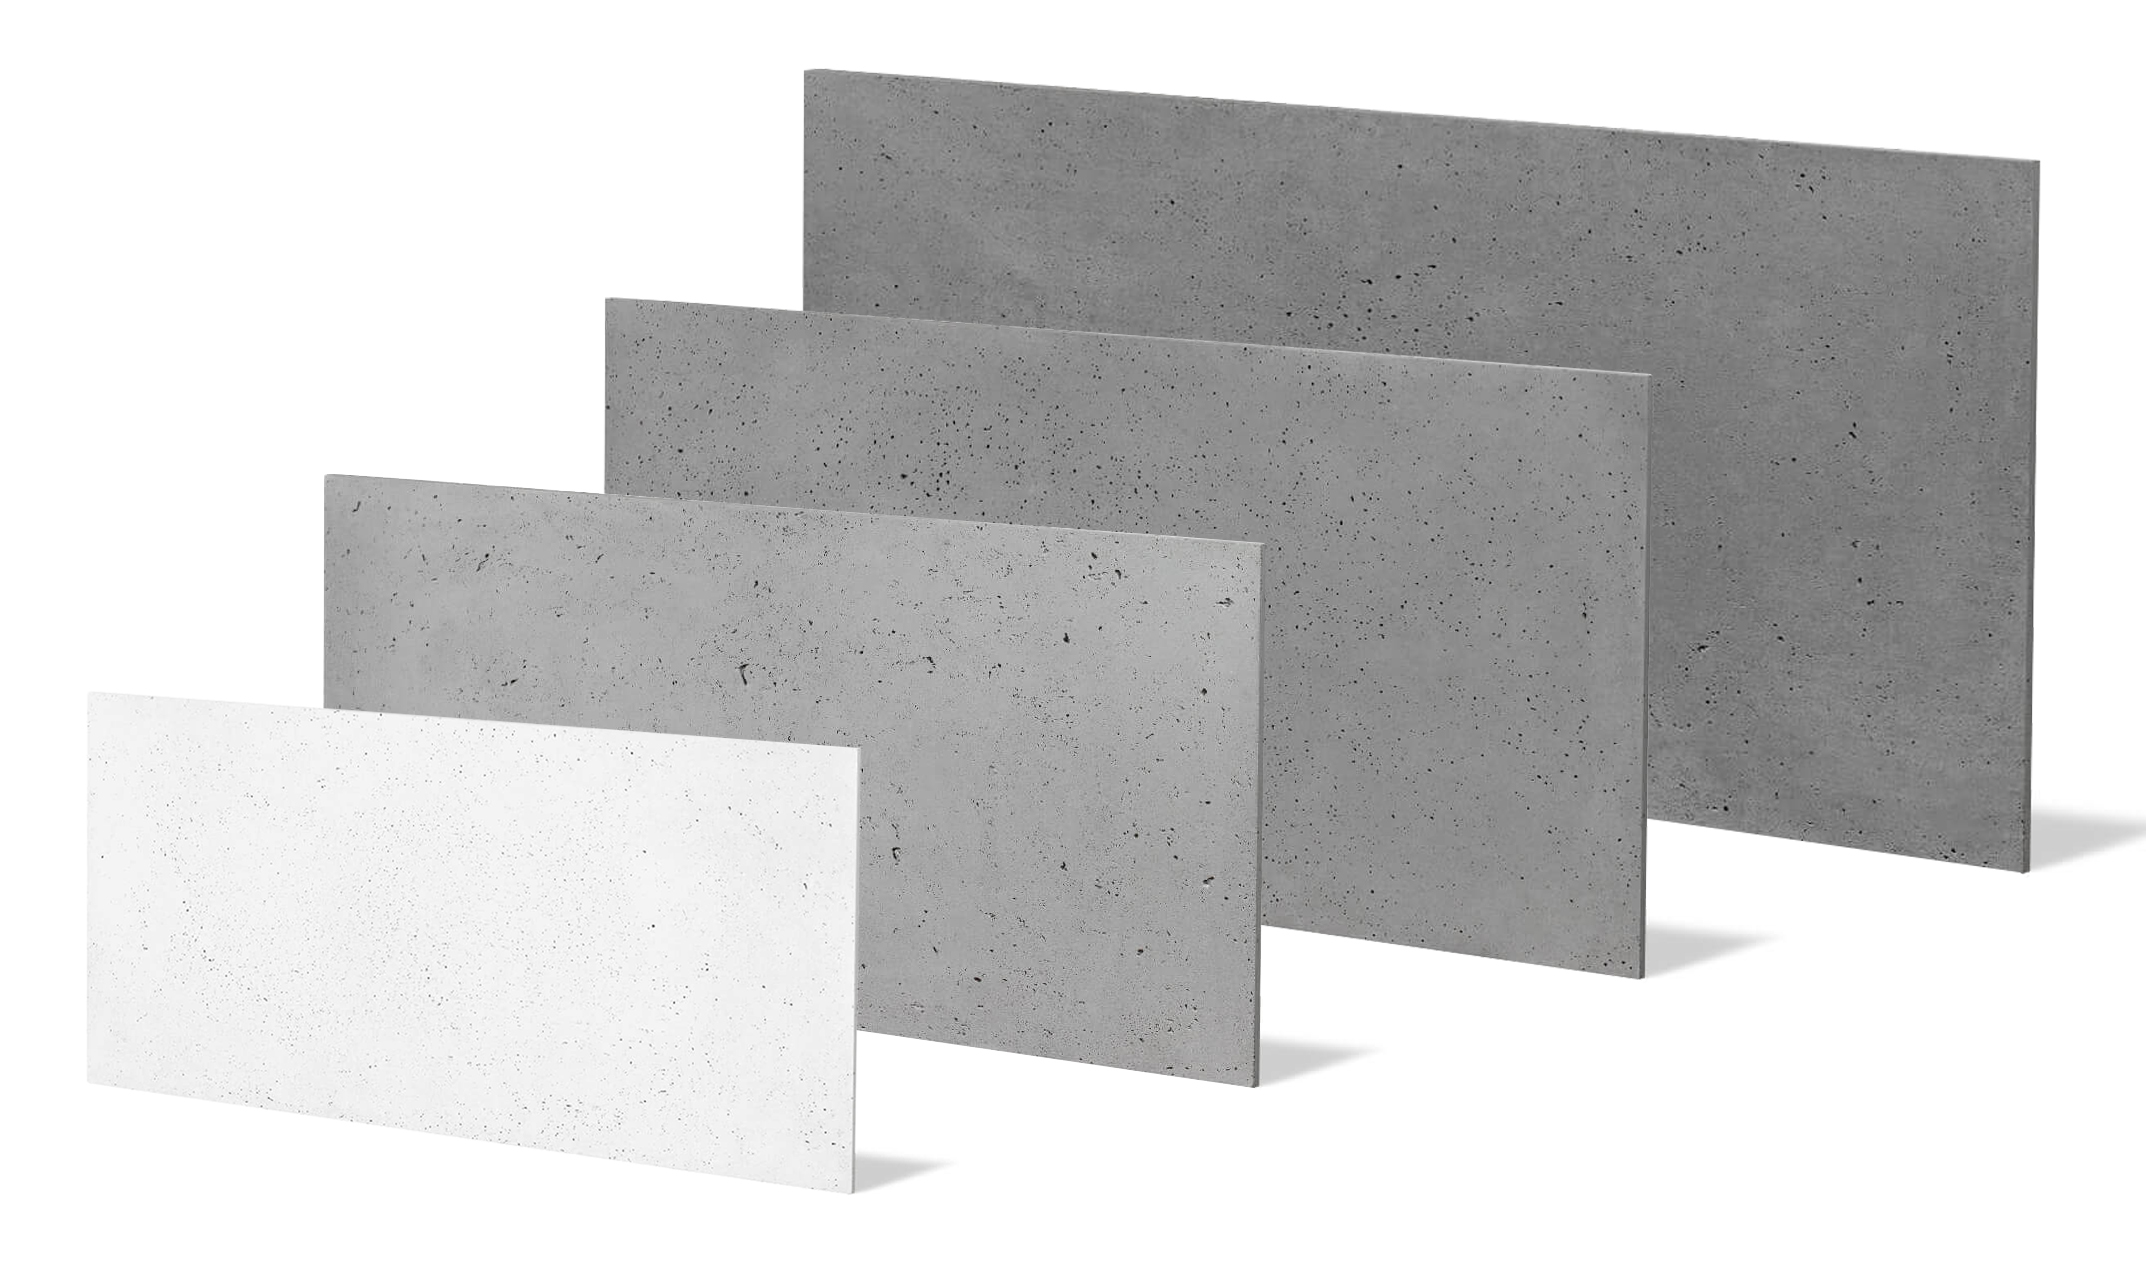
  •  4 basic colors in a medium porosity resembling a poured concrete ceiling (white, light gray, dark gray, anthracite).

The LS series is handcrafted and the concrete has a very strong GRC (Glass-fiber Reinforced Concrete) structure in the case of 1 cm thick slabs. In the case of 2 cm and thicker slabs, PRC (Polypropylen-fiber Reinforced Concrete) reinforcement is used.

Series attributes:

  • Frost-resistant
  • Flame-resistant
  • For interiors and facades
  • Easy installation


Available sizes:

  • 60x60x1 cm
  • 100x50x1 cm
  • 120x60x1 cm
  • 150x60x1 cm

  • 59,5x59,5x2 cm
  • 119,3x59,5x2 cm 
  • 149,2x59,5x2 cm


Additionally, we cast panels to any size within the following ranges:

  • Width: from 15 cm to 241 cm,
  • Height: from 15 cm to 121 cm,
  • Thickness: 1-2 cm.


Link to the entire series of LS products in store: (LS Series)


Summary

Basic differences between slab series.

VT Series

DS Series

LS Series

Available concrete colors

12

8

4

Available sizes

17

4

3 basic + molded to size 

Slab thickness

1-3 cm

1 cm

1-3 cm

Order fulfillment [business days]

7-10

14-21

3-9 + 14-30

Porosity

Smooth / Medium

Medium / High

Medium

Cutting to size

Yes

No

No

Crafting method

Machine

Handcrafted

Handcrafted

Type of reinforcement

Chemical

PRCG

GRC / PRC

Custom dimensions

No

No

Yes

-

-

-

-


Assembly instructions - DS series [PDF]

Assembly instruction and plate plate, technical plate, product specification.

Download (185.51k)

Download

Slab specification - DS series

Technical sheet, specification, assembly instructions [PDF]

Download (265.09k)

The installation of concrete slabs consists of several steps that will allow you to achieve a durable and aesthetic effect. Here are the detailed instructions:

1. Preparing the substrate:

  • Suitable substrate: Raw walls, cement-lime plaster, gypsum plasterboard or OSB boards are preferred.
  • Cleaning the substrate: The wall should be dusted and primed with a dedicated primer (recommended for the selected slab model). Using the right primer increases the adhesion of the adhesive.
  • Paint grid: A grid of black paint can be painted on the wall to hide any gaps between the slabs.


2. Preparing the slabs:

  • Cutting: The concrete slabs are cut to the appropriate dimensions using a diamond disc for concrete.
  • Planning the pattern: If the slabs have a pattern, their layout on the floor should be planned in advance to achieve the desired visual effect.
  • Cutting holes: If necessary, you can cut holes in the slabs, e.g. for sockets, using a diamond hole saw for concrete.
  • Drilling: Remember to turn off the impact function.


3. Gluing the boards:

  • Dedicated glue: Use a dedicated glue for a specific board model. Each board model has a recommended assembly chemistry.
  • Leveling system: When installing boards up to 1.2 cm thick, we recommend using a leveling system to help achieve an even surface and proper expansion joints.
  • Expansion: Maintain proper expansion gaps between the boards to avoid cracking due to temperature changes.


For full assembly instructions, you can download dedicated documents from our website in the "Downloads" section for each board model.

If you need more information or have questions about specific steps, feel free to ask!

In order to properly install concrete panels, it is very important to properly prepare the substrate. Here are the steps to take:

1. Type of substrate:

The preferred substrate is:

  • Raw wall,
  • Cement-lime plaster,
  • Raw gypsum board (GK),
  • OSB board.


2. Cleaning the substrate:

  • The wall should be vacuumed of dust and loose elements, such as splinters or pieces of plaster, which may affect the adhesion of the adhesive, should be removed.


3. Priming:

  • Priming is a key step. Use a dedicated primer, which is available in the offer for each model of concrete panels. The primer will increase the adhesion of the adhesive and ensure the durability of the installation.
  • Avoid priming smooth or painted surfaces, such as plaster, gypsum plaster, stucco or ceramic tiles, without first removing them. Installation on such surfaces may cause the panels to fall off the wall.


4. In the case of a painted wall:

  • If the wall is painted, especially on a cement-lime plaster, the paint should be removed to ensure better adhesion.
  • Alternatively, you can attach GK or OSB boards to the wall, which will be drilled and fixed with dowels and screws. Only on the prepared surface are the primer and glue applied.

If your wall is painted, you should prepare the surface before installing the concrete panels to ensure a durable and safe attachment. Here's what you can do:

1. Remove the paint:

If the wall is covered with paint, it is recommended to remove it, especially in the case of paint on cement-lime plaster. Removing the paint will allow the adhesive to adhere better to the wall.

2. Alternative - GK or OSB boards:

If you do not want to remove the paint, you can prepare the surface by:

  • Attaching GK (plasterboard) or OSB boards to the wall.
  • The boards should be glued, drilled and fixed with dowels and screws so that they are firmly attached to the wall.
  • Then, a primer is applied to the prepared surface and only then the adhesive for installing concrete panels.


3. Applying the primer:

A dedicated primer should be applied to the cleaned or prepared surface (e.g. GK or OSB boards), which will increase the adhesion of the adhesive and ensure the durability of the installation.

It depends on where you use concrete slabs. Concrete impregnation is not always necessary, but in some places and situations it is recommended or even required. Here are the guidelines:

1. Where to impregnate concrete:

  • Bathrooms, kitchens and external facades: In these places, concrete slabs will be exposed to direct contact with water, moisture and dirt, so impregnation is necessary. A hydrophobic impregnation is then used to protect the concrete from moisture, stains and dirt.
  • Stairs and hallways: In these places, concrete impregnation is also recommended, especially due to the frequency of use and the possibility of dirt.
  • External facades: Concrete on the outside should always be impregnated to protect it from atmospheric factors such as rain, frost and UV radiation.

2. Where impregnation is not necessary:

  • Internal walls, e.g. behind the TV (RTV): In rooms where concrete is not directly exposed to water, impregnation is not necessary, but optional.


3. Rust effect slabs:

In the case of concrete slabs with a rust effect, impregnation is always recommended, unless the rust staining effect is not a problem.

For corten (rust) slabs, we only use spray impregnation. Impregnation with a roller or brush can destroy the pattern on the surface of the slab.

Benefits of impregnation:

  • Increases the durability of concrete,
  • Protects against moisture, dirt and stains,
  • Makes it easier to clean and maintain the slabs.

Yes, Minileiste® concrete slabs can be used outdoors without any problems, but they require proper preparation to ensure durability and aesthetic appearance for a long time.

Key guidelines for outdoor use:

  1. Impregnation: Concrete slabs used outdoors must be protected with a dedicated hydrophobic impregnation that protects them from moisture, rain, frost and other weather conditions. Impregnation prevents water absorption, which protects the concrete from cracking.
  2. Weather resistance: Concrete slabs are naturally resistant to temperature changes and UV rays, so they can be used on facades, fences, terraces or other external surfaces.
  3. Grouting: In the case of outdoor installation, it is necessary to grout the expansion joints with a flexible grout to prevent water and UV rays from penetrating, which weaken the adhesive bond.


Application examples:

  • Building facades,
  • Fences,
  • Terraces,
  • Decorations on external building walls.

Yes, Minileiste® concrete slabs can be used in bathrooms, but they require appropriate preparation to ensure their durability and protection against moisture. Below you will find key information regarding the installation of concrete slabs in the bathroom.

Key aspects of installing concrete slabs in the bathroom:

  1. Protection against moisture:
  • In places exposed to direct contact with water (e.g. around the sink, shower walls), it is recommended to use slabs that are factory-impregnated or to apply a hydrophobic impregnation yourself. Impregnation will protect the slabs from absorbing moisture and stains.

Grouting:

  • In the case of walls in direct contact with water (e.g. shower wall), a flexible grout should be used between the slabs to prevent water from penetrating behind the slabs. You can use a dedicated flexible grout available in the offer.

Avoiding direct contact with water:

  • In the shower: We advise against using concrete in places where the slabs will be in constant contact with water, such as on the floor in a shower cubicle, because the porous structure of concrete can collect dirt and limescale deposits, making it difficult to keep clean.

Use in other parts of the bathroom:

  • On walls that are not directly exposed to water (e.g. a wall with a mirror or around a bathtub), concrete slabs can be used without any problems, providing an elegant and modern look.

Advantages of concrete slabs in the bathroom:

  • Fire resistance and durability,
  • Modern and minimalist look,
  • Moisture resistance, provided that they are properly impregnated.

Concrete slabs in the DS, LS and VT series differ in terms of colors, dimensions, finish and purpose. Here are the main differences between these series:

DS series:

  • Colors: 8 basic colors (white, light gray, dark gray, anthracite, brown, cappuccino, graphite, green).
  • Porosity: 2 porosity options (medium and high).
  • Decorations: Possibility to choose different colors of aggregates (gold, silver, black) and corten finish (7 corten colors, including white, gray, anthracite, graphite, cappuccino, brown, green - patina).
  • Thickness: The slabs in this series are 1 cm thick, which makes them lightweight and suitable for decorating interior and exterior walls.
  • Application: Most often used on interior walls and exterior facades, thanks to their lightness and elegant finish.

LS series:

  • Colours: 4 basic colours (white, light ash, dark ash, anthracite), resembling poured concrete in structure.
  • Porosity: Medium porosity, imitating a poured concrete ceiling.
  • Dimensions: Available in four sizes: 60x60 cm, 100x50 cm, 120x60 cm, 150x60 cm.
  • Thickness: The slabs in this series are 1 to 3 cm thick. 1 cm thick slabs are reinforced with GRC fibre (Glass-fibre Reinforced Concrete), and thicker slabs (2 cm and more) are reinforced with PRC (Polypropylene-fibre Reinforced Concrete).
  • Application: Hand-made slabs, suitable for both interior and exterior use. Exceptional durability thanks to fibre reinforcement.

VT series:

  • Colours: The widest colour palette – up to 12 shades.
  • Patterns and formats: The VT series includes both flat 2D panels and decorative 3D panels (approximately 50 3D patterns).
  • Porosity: The panels are available in two finishes - medium porosity and smooth panels.
  • Thickness: Depending on the intended use, the thickness of the panels is from 1 to 3 cm (wall panels - 1/2 cm, terrace panels - 3 cm).
  • Application: Wide arrangement possibilities, both for interiors and exteriors. 3D panels are ideal for decorative walls, and 2D panels can also be used on facades and terraces.

Yes, concrete slabs can be installed on a fireplace, as architectural concrete is a material that is resistant to high temperatures. This makes it an excellent choice for a fireplace surround, both for safety and aesthetic reasons. Here are the most important details about installation:

Key aspects of installing concrete slabs on a fireplace:

  1. Resistance to fire and high temperatures:
  • Concrete slabs are fireproof, making them a safe solution for fireplace surrounds. Concrete does not change its appearance or properties under the influence of heat, which ensures durability for many years.
High-temperature adhesive:
  • For installing concrete slabs on a fireplace, it is recommended to use an adhesive that is resistant to high temperatures, such as Kerakoll H40 or polimer glue. This adhesive is able to hold the slabs in place even under the influence of heat generated by the fireplace.

Priming the back of the slabs:

  • Before installation, it is recommended to prime the inside of the slabs (backs) with a suitable primer, which prevents moisture from penetrating the adhesive and protects the slabs from possible discolouration.

Durability and strength:

  • Concrete slabs are very durable and resistant to temperature changes, making them an excellent material to use around a fireplace. Concrete heats up for a long time, which provides additional safety.


Aesthetics and style:

Concrete slabs will give your fireplace a modern and elegant look. Raw concrete fits perfectly with a minimalist interior style, and its resistance to scratches and dirt (after impregnation) makes it easy to maintain.

Yes, concrete slabs can be cut to the desired size, but this requires the use of the right tools. Here are some tips on how to properly cut concrete slabs:

How to cut concrete slabs:

  1. Cutting tools:
  • It is best to use a diamond blade designed for concrete to cut concrete slabs. You can use:
    • An angle grinder with a diamond blade,
    • A circular saw with the appropriate blade.
    • Cutting should be done dry.
Proper preparation:
  • Before cutting, make sure that the slabs are firmly placed on a level surface.
  • It is worth marking the cutting line with a marker or chalk in advance to ensure precise cutting.
Protection during work:
  • A lot of dust is released when cutting concrete, so you should use a protective mask, goggles and gloves.
  • Cutting in an open space or with good ventilation will reduce the amount of dust in the room.
Edges after cutting:
  • After cutting concrete slabs, the edges may be raw and may expose components of the concrete, such as small stones. If necessary, they can be smoothed using a sander or sandpaper.

Yes, you can drill into concrete slabs, but it’s important to use the right tools and techniques to ensure safe and precise drilling. Here are some key points to remember when drilling concrete slabs:

How to drill into concrete slabs:

  1. Tool selection:

  • A concrete drill bit is recommended for drilling holes in concrete slabs.
  • For larger diameter holes, such as for electrical outlets, a diamond concrete hole saw is recommended.
  • Important: Do not use impact drilling to avoid cracking or damaging the slabs. Your drill should be set to standard drilling mode.


Drilling technique:

  • Always drill gently, starting at a low drill speed to avoid chipping the concrete.
  • You can also use masking tape on the surface of the slab to reduce the risk of chipping as the drill exits the material.

Drilling Holes for Sockets:

  • Electrical Sockets: A diamond hole saw is recommended for drilling holes for sockets, as it allows for precise cutting of large holes without damaging the board.


Safety Tips:

  • Safety Glasses: Drilling in concrete can cause splinters, so always wear safety glasses.
  • Dust Mask: Drilling creates dust, so it is a good idea to wear a mask, especially on larger projects.

Mounting your TV on a wall covered with concrete slabs requires some preparation to ensure a solid and secure mount. Concrete slabs are decorative, so they are not designed to withstand heavy loads. Here are the steps you should take:

Step-by-step guide to mounting your TV on concrete slabs:

  1. Mounting your TV mount directly to the wall, not concrete slabs:
  • It is not recommended to mount your TV mount directly to concrete slabs, as they are decorative and not designed to withstand loads.
  • First, you must mount your TV mount directly to the wall where the slabs are mounted (e.g. a structural concrete or brick wall).


Preparing the holes for the TV mount:

  • Measure and mark the exact locations where the mount will be mounted.
  • Drill holes in the wall behind the concrete slabs, making sure to use the appropriate tools for drilling into the wall (e.g. a concrete drill).


Cutting the slabs around the mount:

  • Once the mount is attached to the wall, cutting the concrete slabs is optional but recommended.
  • Cutting the plates around the mount will allow for a precise fit of the plates and an aesthetic finish around the mounting elements.
  • This can be done using a diamond blade, taking care to cut precisely.

Installing the TV mount:

  • Once the holes have been cut and the mount has been attached to the wall, the concrete plates can be re-mounted around the mount.
  • Follow the mount assembly instructions to mount the TV. This will ensure that the TV is securely attached, and the concrete plates will only be decorative.

Important tips:

  • Use wall plugs and expansion screws appropriate for the type of wall to ensure that the mount is securely and safely attached.
  • Do not mount the TV directly on the plates – concrete plates are designed for decoration, not load-bearing.

The weight of concrete slabs depends on their series, size and thickness. Here are some sample data for the most popular series:

Weight of concrete slabs:

1. DS series:
  • Slab measuring 100x50 cm: about 8 kg,
  • Slab measuring 120x60 cm: about 12 kg.

2. VT series:

  • Slab measuring 100x50 cm: about 12.5 kg,
  • Slab measuring 120x60 cm: about 18 kg.


Each slab may vary in weight depending on the thickness and the specific concrete mix from which it was made.

Yes, concrete panels can be installed on plasterboard (GK) or OSB, but it requires proper preparation to ensure the stability and durability of the installation.

Key steps for installation on GK or OSB:

  1. Surface preparation:
  • GK (Gypsum board): In order for concrete panels to be properly installed, GK panels must be additionally anchored to the wall, as screws alone may not be strong enough to support the weight of concrete panels.
  • OSB: In the case of OSB panels, mechanical fastening (e.g. using dowels or screws) is also recommended to ensure the stability of the entire structure. OSB panels may be stronger, but the installation should be just as solid.

Anchoring the panels + gluing:

  • In order for GK or OSB panels to be sufficiently stable, they must be anchored to the load-bearing wall using dowels and screws and glued with glue such as Tytan/Mamut, which will provide a solid base for the installation of concrete panels.

Priming:

  • Primer the surface of the GK or OSB board using a dedicated concrete primer before installing the concrete slabs. This will ensure better adhesion of the assembly adhesive.


Selecting the adhesive:

  • It is recommended to use a dedicated concrete assembly adhesive, e.g. polymer or cement, which will ensure a permanent connection of the concrete slabs to the substrate.


Important notes:

  • Do not apply directly to smooth walls: If you are planning to install on a smooth surface, paint or smooth plaster, it is recommended to use GK or OSB boards to ensure a stable substrate.
  • Substrate stability: The substrate must be solid, as concrete slabs are heavy and require secure installation.

Concrete slabs are a durable and elegant finishing material, but they require proper care to maintain their aesthetic appearance. Here are some tips for cleaning concrete slabs both outdoors and indoors:

Cleaning concrete slabs outdoors:

  1. Sweeping:
  • Regularly remove dirt such as leaves, sand, mud, dust from the slabs using a broom or brush.

Washing:

  • If the slabs are very dirty, you can use a pressure washer with a mild detergent. Avoid cleaning agents containing bleach, ammonia or abrasives, which can damage the concrete surface.
  • Wash the slabs with warm water and a mild detergent, then rinse thoroughly with water.

Impregnation:

  • Regular use of a concrete impregnation will help protect the slabs from moisture, stains and weather conditions. Impregnation will not only make cleaning easier, but will also extend the life of the slabs.

Cleaning concrete slabs inside:

  1. Dust removal:
  • Instead of sweeping, use a dry brush or a vacuum cleaner with a soft tip to clean the inside walls to remove dust and small particles.

Washing:

  • If the slabs get dirty, you can wash them with a slightly damp cloth or sponge. Use a gentle cleaning agent, such as a solution of soapy water. Avoid strong detergents and intensive scrubbing, which can damage the surface.

Protection against stains:

  • If the slabs are located in rooms exposed to dirt (e.g. kitchens, corridors), it is worth impregnating them to reduce the risk of absorbing dirt and make regular cleaning easier.

Additional tips:

  • Avoid harsh chemicals: Products containing acids or strong chemicals can damage the surface of the concrete, so always choose mild cleaning agents.
  • Protect the slabs from moisture: Regular use of water-repellent impregnators will help protect the concrete from water penetration and stains, making everyday maintenance easier.

The choice of adhesive for the installation of concrete slabs depends on the selected series: DS, LS or VT. Here are the recommendations for adhesives for each series:

Recommended adhesives depending on the series:

1. DS series:

  • Recommended adhesive: Foam assembly adhesive.
  • Why: Excellent adhesion and flexibility, ideal for standard slabs.


2. LS series:

  • Recommended adhesive: FIX expert polymer adhesive.
  • Why: Provides a strong and durable connection, suitable for thicker slabs.


3. VT series:

  • Recommended adhesives:
  • SILVER cement adhesive type C2TE,
  • Polymer adhesive.
  • Why: Slabs in this series require a flexible adhesive that will adapt to a variety of textures and provide stability.


Key aspects of choosing an adhesive:

  • Compatibility with the series: Make sure the adhesive is suitable for the selected slab series to ensure the durability of the installation.
  • Application conditions: Check that the adhesive is suitable for indoor and outdoor use and its resistance to moisture.

Yes, we recommend purchasing adhesives and assembly accessories directly from us. Here are some important details:

Why is it worth buying our adhesives and accessories:

  1. Quality guarantee:
  • Our adhesives and accessories are specially selected for our products, which ensures their high quality and effectiveness.


Assembly certainty:

  • The use of dedicated assembly chemicals increases the certainty that the boards will be firmly attached, which minimizes the risk of problems with falling off or damage.


Responsibility:

  • If you decide to use other assembly chemicals, the assembler takes responsibility for the assembly result. Our company is only responsible for the assembly using our proven chemicals.


Technical support:

  • In the event of any assembly problems, we will be able to help faster and more effectively if you use our products.


Summary:

Although you can use other products, we recommend using our adhesives and accessories to ensure the highest quality of assembly and durability of the boards.

When a concrete slab is cut, its edges can reveal the internal components of the concrete. Here are some key points to consider:

Cross-section appearance:

  1. Evenness and texture:
  • The slabs have finished edges and the color and texture in the cross-section are similar to the front of the slab.
  • After cutting, small pebbles and sand may be visible, which is natural for concrete.


Aesthetics:

  • When cut precisely, the aesthetics remain high, but the cross-sections can reveal material irregularities, which is typical for concrete products.


Impregnation:

  • To achieve a uniform appearance and protect the cross-sections from moisture and dirt, it is worth impregnating them after cutting.


Additional tips:

  • Edge treatment: If necessary, the edges can be smoothed after cutting to achieve a better aesthetic effect.
  • Use: Remember that the visible cross-section is a natural feature of concrete, so it is worth considering this in projects where the slabs will be exposed.

Yes, you can order a single piece of concrete slab. However, it is worth remembering that if you order only one slab, you will have to cover the cost of pallet delivery, because concrete slabs are only shipped on pallets.

Yes, we have samples of almost the entire range of concretes. You can order them via our website. The samples will allow you to better assess the colors, textures and variety of our products.

To order samples, visit: Concrete Samples.

Unfortunately, we do not offer a service of bringing the panels directly into the apartment.

We deliver pallet shipments in such a way that delivery is ensured to the first door:

  • for houses this means the entrance gate,
  • and for blocks of flats - the staircase.


If you need additional help bringing the panels in, we suggest using a local transport service.

We currently do not offer assembly services. We sell our products and you must do the assembly yourself.

But don't worry! All of our products are intuitive to assemble and we provide detailed instructions that will definitely help! If you have any questions, you can always count on us.

Yes, our concrete slabs are great for floors!

On our website you will find a dedicated section with concrete floor slabs, which are specially designed for durability and strength.

For those interested: Concrete floor slabs

Yes, we offer a concrete slab cutting service, but only for selected series.

  • VT series – here you can order a slab cut to the selected size.
  • LS series – allows for the production of slabs to a specific size on special order.

If you have special needs, contact us and we will help you choose the perfect solution for your project!

Yes, it is possible!
We offer LS series panels that we can make to specific dimensions.
The range of dimensions is:

  • Width: from 15 cm to 241 cm,
  • Height: from 15 cm to 121 cm,
  • Thickness: 1-2 cm.

If you have specific needs, just contact us and we will help you adapt the perfect solution for your project.

Unfortunately, concrete slabs are not returnable, as they are non-prefabricated products and are manufactured to the customer's special order. Each slab is prepared according to individual parameters, so returns are not possible.

If you have any questions about your order, you can always contact us - we will be happy to help!

No, concrete slabs are made to order.

We do not store them "off the shelf", which allows us to produce each slab from a homogeneous concrete mix, so the slabs are free from the risk of scratches that could occur during storage.

The lead time depends on the model and is indicated on the product page.

Yes, in some cases grouting is necessary:

  • Facades - here grouting is required to prevent water and UV rays from getting under the slabs, which could weaken the adhesive bond.
  • Rooms exposed to moisture - such as bathrooms, kitchens, or areas with direct contact with water, should also be grouted to protect the slabs.

In other cases grouting is not mandatory, but some customers decide to do it to achieve a specific look or greater protection.

No, concrete slabs should be laid with expansion gaps.
These gaps are important because concrete can expand and contract under the influence of temperature changes. The gaps prevent any cracks in the slabs.

For convenience, we recommend our slab leveling system, which creates the required gaps and ensures perfect slab alignment.

It depends on the project, but both methods have their advantages:

1. Laying from the bottom:

  • Most convenient when you don't have a specific height for the cladding.
  • It allows you to more easily adjust the bottom edge of the tiles to any unevenness in the substrate.
  • The cut elements will be at the bottom, making them less visible.

2. Laying from the top:

  • Ideal when the cladding is to reach a precisely defined height.
  • It allows for a better adjustment of the top edge, which is important in visible places, such as above the kitchen counter.
  • It allows you to precisely adjust the tiles in relation to the level.

The choice therefore depends on the specifics of the project and the aesthetics you want to achieve.

To ensure that your concrete slabs are in perfect condition until they are installed, we recommend that you store them in the position in which they were delivered, i.e. on a pallet. It is important to:

  • Remove the protective film and spacers that secure the slabs during transport.
  • Ensure adequate air circulation so that moisture does not accumulate on the slabs.

This will ensure that the slabs are ready for use in perfect condition, without the risk of damage.

It is recommended to impregnate the boards if they are to be exposed to factors such as:

  • Water and moisture – e.g. in bathrooms, kitchens, on facades or terraces.
  • Strong sunlight – in the case of outdoor installation.


Impregnation strengthens the structure of the concrete, protects against moisture, eliminates dusting and increases resistance to abrasion, which prolongs the durability and aesthetics of the boards. You can also choose impregnants that give the board a shine or leave it matte.

Our offer includes slabs of different thicknesses, adapted to different applications:

  • Wall slabs: 1-2 cm thick.
  • Terrace slabs: 3 cm thick.


Each of these options is tailored to specific needs, depending on whether you plan to use them inside or outside.

It doesn’t really matter whether you start laying the concrete slabs from the floor or from the batten. What is important is to remember to keep the expansion gaps (1-2 mm) between the slabs.

Choosing where to start the installation depends mainly on your preferences and design:

  • If you want to precisely match the slabs to the batten, start from the batten.
  • If the floor is a key reference point, start from the bottom.

We ship concrete slabs in a way that ensures maximum safety during transport. Here's how it looks:

  • The slabs are shipped exclusively as pallet shipments, which minimizes the risk of damage.
  • We place them in a special frame, where each slab is placed vertically, which prevents cracks and deformations.
  • Each slab is separated by a separator, and the entire pallet is carefully stretched.
  • Each shipment is additionally insured.

This guarantees that your slabs will reach you in perfect condition.

The cost of shipping concrete slabs depends on their quantity, model and dimensions. Average shipping costs are as follows:

  • VT series: around 199,99 PLN gross for a pallet shipment.
  • DS series: from 249,99 PLN gross for a pallet shipment.


You can check the exact shipping cost in the basket when placing your order.

Yes, our corten sheets use real rust, which is created by a controlled chemical process on the surface of the sheets. This gives each sheet a unique, unrepeatable look.

To protect the pattern from damage, we recommend impregnating the sheet with a dedicated spray impregnator that will not smudge the pattern, as could happen with a roller or brush.

You can choose the color of the aggregate and the type of porosity of the concrete. Here's how the options differ:

  • Medium Porosity: The aggregate pattern is slightly dispersed across the entire surface of the slab, giving a more subtle effect.
  • High Porosity: The aggregate is in larger clusters in smaller areas of the slab, giving a more distinct and distinctive look.


The aggregate pattern itself is naturally and randomly formed, so there's no way to fully control its placement.

No, the aggregate and rust pattern is unique. It is created randomly during the production process:

  • Aggregate: It sinks into the concrete mass during pouring, which causes each slab to have its own unique distribution.
  • Rust: The rust etching process also occurs naturally, which causes each corten slab to have a different, unique pattern.

This uniqueness is one of the main features of our concrete slabs, which gives them an original character.

Yes, concrete slabs are extremely durable. They are made of a mixture of cement, sand, aggregate and water, which gives them great resistance to compression and durability.

Thanks to their solid construction, these slabs work well both indoors and outdoors. You can successfully use them on walls, facades, as well as floors and terraces. Their structure can be smooth or porous, depending on the preferred finish.

Yes, our concrete slabs are reinforced to ensure their durability and resistance. Depending on the slab series, different types of reinforcement are used:

1. DS Series:

  • Reinforced with polymer fibers, which makes the slab light and strong.

2. LS Series:

  • These slabs are reinforced with glass or polymer fibers, depending on the model chosen. This solution makes the slabs extremely resistant, while maintaining an aesthetic appearance.

3. VT Series:

  • In this case, chemical reinforcement is used, which gives the slabs exceptional strength, even in difficult conditions of use.

Corten effect concrete slabs are available in two standard sizes:

  1. 100 x 50 cm
  2. 120 x 60 cm

These sizes allow for the free planning of various arrangements on both small and larger surfaces.

The VT series terrace tiles have an anti-slip class of R9. This applies to both smooth and medium-porous tiles. The R9 class ensures an appropriate level of safety in everyday outdoor use.

No, the DS series corten effect panels are only available in 1 cm thickness and are not intended for use on floors. These panels have a more decorative character and are ideal for walls and other vertical surfaces.

Yes, we offer the possibility of ordering concrete slabs to size, but this is only available for selected series. LS series slabs can be made to individual dimensions, in the following ranges:

  • Width: from 15 cm to 241 cm
  • Height: from 15 cm to 121 cm
  • Thickness: 1-2 cm
Thanks to this, you can perfectly match the slabs to your project.

Yes, concrete slabs can be painted, as long as they have not been previously impregnated. To achieve the best results, choose the right concrete paint that will provide durability and aesthetic appearance. Painting slabs gives you the opportunity to adjust their color to specific design needs, but it is worth remembering that impregnated concrete is more difficult to paint.

If your walls are covered with putty, you will need to prepare the surface before installing the concrete slabs. Here are the steps you should take:

1. Remove the putty:

  • The best practice is to completely remove the putty to ensure a solid and permanent bond between the concrete slabs and the wall.

Alternative preparation:

  • If it is not possible to remove the putty, you can prepare the surface by installing plasterboard (GK) or OSB, which will then be glued and anchored to the wall. Only then can the concrete slabs be fixed.


Applying the right primer:

  • A dedicated primer should be applied to the properly prepared surface and a recommended assembly adhesive should be used.

No, it is not recommended to glue concrete slabs directly to ceramic tiles. To ensure the stability of the installation and durability of the slabs, you must first prepare the surface. Here are the recommended steps:

1. Tile removal:

  • The best solution is to completely remove the ceramic tiles and properly prepare the wall surface.

Alternative preparation:

  • If removing the tiles is not possible, you can install GK or OSB boards on glue and dowels, which will create a solid base for gluing the concrete slabs.

Priming:

  • Before gluing the concrete slabs, a dedicated primer should be applied to ensure proper adhesion.

Concrete slabs are not ideal for use over a kitchen counter. Although they are durable and aesthetically pleasing, they do have some limitations that can affect their use in such a location:

1. Grease and stains:

  • Most concrete sealers do not fully cope with grease and oils, which means that concrete can easily get dirty. Grease stains can be difficult to remove, making it difficult to maintain the aesthetics of the surface.

Additional protection required:

  • To use concrete in such a demanding location, it would be necessary to use epoxy-based sealers or varnishes, which provide better protection against stains. However, standard concrete sealers will not be enough.

Due to these factors, concrete over a kitchen counter can require a lot of maintenance, which is not always practical.

Grouting concrete slabs is not always necessary and depends on where and how they are used. Here are the key facts:

1. Grouting is not mandatory:

  • In most cases, concrete slabs are laid with a so-called empty expansion joint between them, without the need for grout. This allows the raw, minimalist look of the concrete to be preserved.


Recommended for exposure to water:

  • If the slabs are installed on facades, in bathrooms or other places exposed to water and moisture, it is necessary to use a flexible grout to prevent moisture from penetrating under the slabs and weakening the adhesive.


Aesthetic requirements:

  • Grouting can also be done if the design or customer preferences require it. A well-chosen grout can be an additional decorative element.

2. Mandatory on facades:

  • Grouting is mandatory on external facades. Expansion joints protect the slabs from water ingress, which could lead to damage or loosening of the slabs under the influence of changing weather conditions. It also protects the adhesive from the adverse effects of UV rays, which can weaken its strength.

Important tip:

Before installing the concrete slabs, it is recommended to paint the joints with black paint to visually hide the gaps between the slabs.

No, 3D concrete slabs should be laid with expansion gaps. The gaps between the slabs are important because concrete, like other building materials, expands and contracts under the influence of temperature changes. Leaving expansion gaps prevents the slabs from cracking and ensures their long-term stability.

The thinnest concrete slabs in our offer are 1 cm thick and are available in the DS, LS, and VT series. Thanks to this thickness, the slabs are not only durable, but also relatively light, which makes them easier to transport and install. Despite their thin structure, they maintain high durability and are perfect for various projects, combining aesthetics with functionality.

To properly install concrete slabs, you will need the right materials and tools. Here's what you'll need:

1. Dedicated assembly chemicals:

  • Primer - the wall should be primed before installation to improve the adhesive adhesion.
  • Adhesive - suitable for the selected series of slabs:
  • DS: foam assembly adhesive,
  • VT: C2TE polymer or cement adhesive,
  • LS: FIX Expert polymer adhesive.

Slab leveling system:

  • Ensures even placement of slabs and creates the necessary expansion gaps.

Cutting tools:

  • Depending on your needs, use a diamond blade for concrete to cut the slabs if they need to be cut.

Spirit level and assembly tools:

  • A spirit level will allow for precise installation of the slabs. You will also need basic construction tools, such as spatulas or drills if you plan to drill holes.

Yes, we are happy to implement custom concrete projects! If you have a specific vision or need unique concrete elements, write to us at [email protected] and we will check our possibilities and present what we can do for you.

The lead time for concrete slabs depends on the selected model and series. The estimated lead time is from 7 to 28 working days. You will find detailed information about the lead time on the product page when placing your order.

Yes, we recommend ordering around 10% extra boards as a reserve. This can be helpful in case of cuts, damage during installation or future repairs. Re-ordering even one unit will incur additional pallet shipping costs, so it is worth planning for a reserve when ordering.

Yes, installing concrete slabs on the ceiling is possible, but requires additional protection. In addition to glue, mechanical fastening, such as anchors, should be used to provide maximum protection against possible falling off. This is especially important due to the weight of the slabs and the force of gravity.

Yes, concrete slabs are perfect for use on the wall behind a fireplace or stove. Architectural concrete is fireproof, which ensures safety in such a place. Concrete slabs not only look good, but are also resistant to high temperatures, which minimizes the risk of damage.

Important tips:

  • To install the slabs behind the fireplace, use an adhesive that is resistant to high temperatures, such as Kerakoll H40.
  • Before installation, it is also necessary to prime the wall and the backs of the slabs to prevent moisture from getting on the top of the slab.

The colour of concrete slabs is generally consistent, but there may be slight variations in shade between batches. This is a natural effect of the manufacturing processes, such as the drying time of the concrete or the weather conditions during production. These subtle differences add a unique, raw character to the slabs.

Good to know:

  • To avoid noticeable differences, we recommend ordering all slabs at the same time, so that they come from the same batch.
  • Before installation, spread the slabs out on a flat surface and arrange them in the chosen pattern. This will allow you to evenly distribute minor colour differences and achieve a harmonious look for the wall.

No, white and black concrete colors are different from typical wall paints. Architectural concrete contains natural ingredients, such as cement and sand, which affect the final shade.

  • White concrete usually has a slightly grayish tint.
  • Black concrete is more of a dark graphite than the deep, pure black that can be achieved with wall paints.

Good to know:

If you care about color matching, it is worth ordering samples to see how these shades look in reality and whether they will match other elements of the interior.

You might also like

Related Products (There are 8 other products in the same category)

close Shopping Cart

New Account Register

Already have an account?
Log in instead Or Reset password